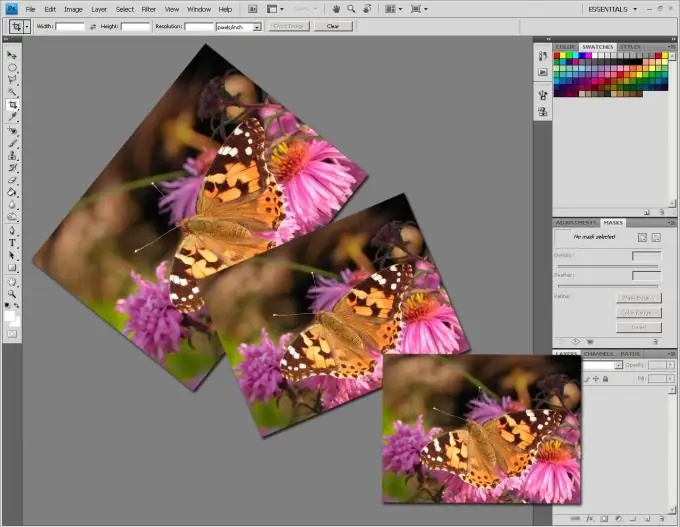
If you plan to post your photos on Internet resources, you may need to lighten their weight so that they meet the requirements of a particular site. In addition, even if the site does not have restrictions on the size and weight of photos, huge photos on a web page slow down its loading and irritate users viewing the page. You may need to reduce the size of the photo to lighten the weight. How can you make a photo easy to download and view without degrading its quality?

Necessary
graphic editor Adobe Photoshop
Instructions
Step 1
Open the photo in the graphics editor Adobe Photoshop. The photo will not open in 100% size. In the title of the photo, which is automatically generated by the program, you can see the percentage in which the photo is displayed. If you want to see the real size, press the key combination “Ctrl + 1” or “Ctrl + Alt + 0”. This way you can also evaluate the quality of the photo. How clear does it look at full size, does it have defects?
Step 2
Using the key combinations “Ctrl +” and “Ctrl-” you can increase and decrease the size of a photo in the program window without affecting its actual size and quality. This will help you determine what real size the photo will be suitable for submitting to your site so that it looks good on your page. Look at the percentage size of the photo indicated in the title of this photo.
Step 3
Now use the menu item “Image - Image Size”. This can also be done with the “Alt + Ctrl + I” key combination. You will see a dialog box with which you can control the resolution and size, and therefore the weight of the photo.
Step 4
Since we are interested in preparing a photo for publication on the Internet, we will use the upper part of the dialog box, where you can select the photo size in pixels or in percent. If you have specific guidelines for the size of your photo in pixels, use this option. If you chose the size of the photo by changing it in the program window, according to point 2, enter the number you have defined in percentage in the window.
Step 5
You will see that the size of the photo on the screen is reduced. Press again “Ctrl + 1” or “Ctrl + Alt + 0” to see its real size. Now you can save the photo for use on the Internet. To do this, we need the menu item "File - Save for web and devices".
Step 6
You will see a dialog box to save the file. Pay attention to its top right corner. There you can select the file format for use on the Internet - for example, jpeg, and its quality: from low (Low) to maximum (Maximum). For the best quality / weight ratio, we recommend using the “High” or “Very High” save modes.
Step 7
You can see the weight of the photo in kilobytes and the estimated download speed in the lower left corner of the dialog box, right below the photo preview window. Keep track of this parameter and correlate it with the quality of the photo in the preview window in order to choose the optimal photo saving mode for you.


