ICQ or, as it is commonly called, ICQ is one of the most popular instant messaging services. To emphasize their individuality, each user can put their own avatar. However, users who are less experienced in this regard may have questions.

Instructions
Step 1
You can install an avatar using the official ICQ website. Open your web browser and type in the address bar https://icq.com, then go to the entered address. On the main page of the site in the upper right corner, click on the "Login" link, then enter the ICQ number (or postal address) and password in the appropriate fields. You are now logged in to the site
Step 2
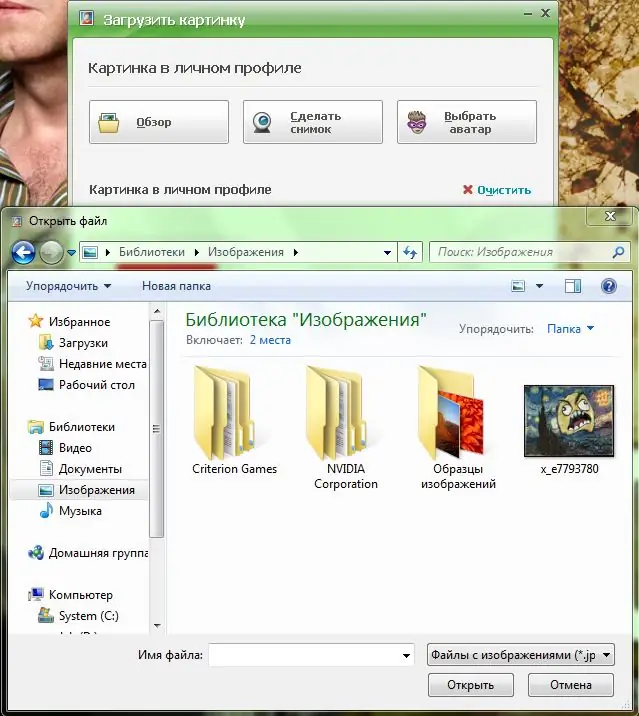
Then click on the link "Dating" in the header of the site. You will be taken to the people search page, on the right side of which you will see a summary of your account information. Click on the link "My profile". On the page that opens, click the "Change image" link. In the window that appears, click "Browse" and use the Explorer dialog box to select the file for the image. It must be in one of the formats: jpg, gif, png, bmp, or tiff. Click on the selected image and click "Open". Confirm your wish to set an avatar by clicking "Save".
Step 3
You can also add an avatar using the official ICQ application. Run the program. In the upper part of the window, click on the place intended for the avatar. In the window that appears, you will be asked to upload your own picture, take a picture using your webcam, or select an image from the ICQ gallery. If you have a ready-made picture for an avatar, click "Browse", select an image and click "Open", then "Save".
Step 4
Also, the avatar can be installed using one of the third-party applications, for example, QIP. Run the program. Click on the logo at the bottom of the application window, then select "Show / change my data", and then the item concerning ICQ. A window with general account information will open. Click on the folder icon in the upper left corner under the place for the avatar. In the dialog box that opens, select the image file and click "Open". Then click "Save" to confirm the changes.


