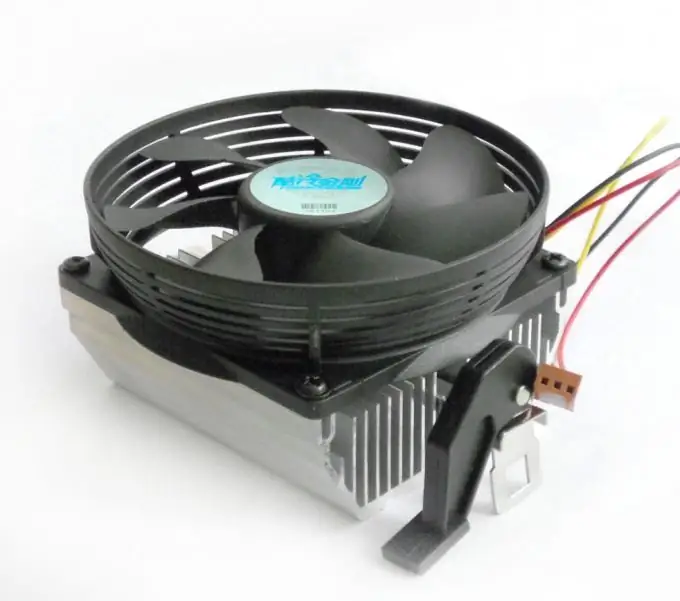
If the system unit of your computer begins to make a lot of noise, then you need to clean or configure the devices installed in it. This usually applies to cooling fans.

Necessary
- - crosshead screwdriver;
- - Speed Fan;
- - machine oil.
Instructions
Step 1
First, turn on the computer and disassemble the system unit. Determine the cause of the unpleasant noise. This can be one or more fans. Now shut down your computer and unplug the power cord. Detach the fan from the equipment on which it is installed.
Step 2
Disconnect the cooler power cable to the motherboard or other device. Remove the cooler from the system unit. Take a cotton ball or cotton swab. Soak them in an alcohol solution and wipe the fan blades. Avoid any visible contamination.
Step 3
Connect the power to the cooler and turn on the computer. If the device continues to make a lot of noise, turn off the PC again. Remove the sticker from the top of the fan. Lubricate the visible part of the fan shaft. Never use vegetable oil for this.
Step 4
If you find a plastic or rubber cover under the sticker, remove it. Carefully remove the two rings located on the pivot. Remove the blades from it. Wipe the pivot shaft with a damp cloth and apply grease to it. Assemble the fan.
Step 5
Follow the same procedure for the rest of the coolers you can access. If the power supply fan is causing the noise, disassemble the power supply and clean the cooler. Make sure the power cord is unplugged from the computer or electrical outlet.
Step 6
If the fans are too noisy even after cleaning, install the Speed Fan software. Run it and see the temperature readings of the installed sensors. If there are devices whose temperature is much lower than the limit, reduce the rotational speed of the coolers installed on these devices. To do this, press the Down arrow several times.
Step 7
Be sure to check the readings of temperature sensors while running powerful applications. This will prevent the devices from overheating.


