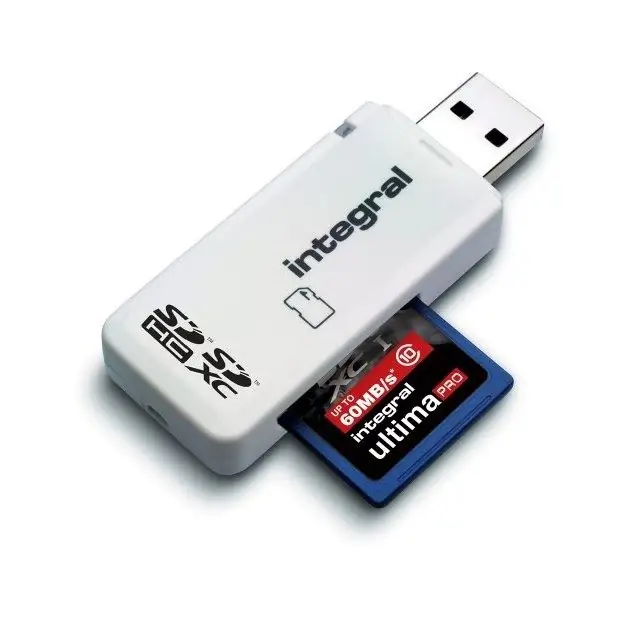
A card reader is a multifunctional device that allows you to enable support for removable flash cards, which are designed primarily for use in mobile devices - cameras, mobile phones, tablets, players, e-books, etc. With the help of a card reader, you will be able to copy files to removable media.

Instructions
Step 1
Most card readers allow you to work with types of flash cards such as SD, MMC and Memory Stick. Some devices may include additional slots into which other storage media can be inserted. Card readers can be divided into two types: USB and internal. USB card readers can be installed in the port of the same name on a laptop or computer, while the internal adapter requires a connection inside the device case to the motherboard.
Step 2
If you have a USB card reader, install it in any of the available USB ports on your computer. After that, wait until the device is detected in the system and the drivers are automatically installed. These adapters do not require manual installation of additional files, and most often they are automatically detected in Windows.
Step 3
After completing the configuration of the device, you can see it in the "Start" - "Computer" section. To use a USB flash drive, simply insert it into the device in accordance with the port suitable for the type of drive being used.
Step 4
To install the internal card reader, first disconnect the computer from the mains and unscrew the side case cover using a screwdriver or special latches. After that, examine the slot that is used in this device to connect to the motherboard.
Step 5
Place the card reader in an empty space on the front of your case, removing unnecessary covers that block the inside of the computer from dust. Screw the device onto the mounting screws, and then insert the appropriate motherboard ribbon cable into it.
Step 6
After the operation is completed, close the computer cover and turn on the power. After the system boots, wait for the automatic detection of the type of card reader used and the installation of the drivers. If not, insert the driver disc that came with the device into the computer's drive.
Step 7
Install the required files following the instructions on the screen. Restart your computer to apply the changes. Installation of the internal card reader is now complete.


