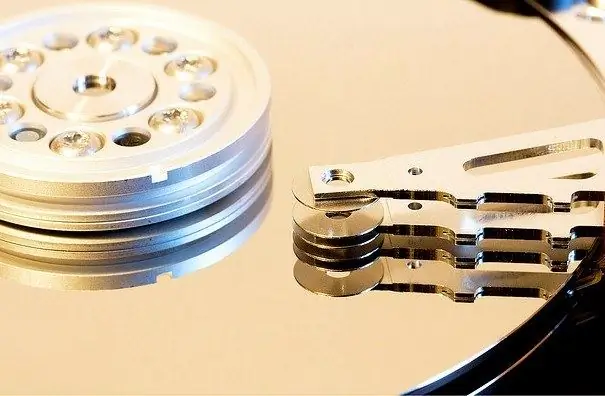
When buying a computer in a store, the user usually purchases an already configured system, so he does not need to perform any additional manipulations with the hard disk. But in the event that the computer is assembled on its own or an additional hard drive is installed on it, it may be necessary to configure it.

Necessary
Acronis Disk Director program
Instructions
Step 1
You built your computer, put a SATA hard drive on it. You are trying to install Windows from the CD, but the computer reports that no hard drives were found. Most likely, the problem is not in the disk, but in the Windows version - it is too old and does not contain drivers for SATA. The best solution in this situation is to find a different installation disc. Typically, any version of Windows 7 or Windows XP SP3 has all the necessary drivers.
Step 2
Modern motherboards usually detect disks without problems, so nothing needs to be configured in the BIOS. When starting the computer, carefully look at the first information that appears on the screen - in particular, data on the size of memory and found disks will be displayed. If there is information about the disks, everything is in order, the system sees them.
Step 3
If the disk is completely new, and you are installing an OS on it, then the necessary operations, in particular, formatting in the NTFS system (when installing Windows), occurs during the installation process. Sometimes a situation may arise when, during installation, the computer reports that the OS cannot be installed on this disk. This is because the disk is not active.
Step 4
To fix the problem, use the Acronis Disk Director program, run it from the CD and split your disk into at least two - drive C and drive D. This is convenient: on drive C you will have an OS and programs, on drive D - data. Working with the program is intuitive and simple, after splitting, do not forget to click the "Run" button. Next, make the C drive active by clicking it with the mouse and selecting the desired option on the left side of the program. After that, the OS installation should proceed normally.
Step 5
If you install a new disk as an additional one, after booting the system open: "Start" - "Control Panel" - "Administrative Tools" - "Computer Management" - "Disk Management". The new disk is still unallocated space, right-click on it and select "Create volume". After creating the volume, you can use the disk.


