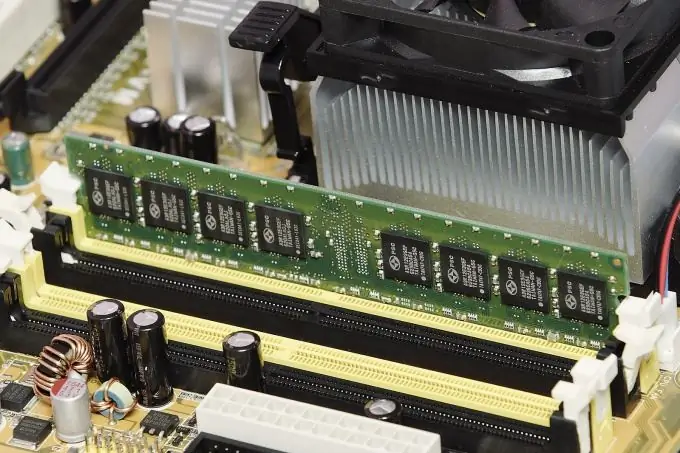
One of the easiest ways to improve the performance of your computer is to increase the amount of RAM. To correctly select and install this equipment, you must follow some rules.

Necessary
Speccy
Instructions
Step 1
To get started, learn how to choose the RAM that's right for your computer. Open the instructions for the motherboard or find it on the Internet. To do this, go to the official website of the motherboard manufacturer.
Step 2
Find out the type of RAM supported by this motherboard. These can be the following types: Dimm, DDR1, DDR2 and DDR3.
Step 3
Now install a program that will help you find out more information about the installed RAM sticks. Install the Speccy utility as an example. It is quite easy to use, so it is suitable for any user.
Step 4
Run the program. Go to the "RAM" menu. This menu contains all the information necessary for a complete overview of the existing memory strips and the state of the motherboard.
Step 5
Examine the first item: Memory slots
Number of memory slots 2
Memory slots occupied 2
Free memory slots 0. As you can see, in this case all the RAM slots are occupied. You may have a different situation, and you do not have to change the already installed memory sticks.
Step 6
Go to next item: DDR3 type
Volume 4096 MB
Channels Two
DRAM frequency is 665.4 MHz. Having studied the contents of this sub-item, we can draw two conclusions: 1 - the motherboard supports dual-channel operation;
2 - the frequency of new memory strips should not be lower than 665 MHz.
Step 7
Get the right memory sticks. If the motherboard has two free slots for connecting RAM, it is better to buy 2 strips, the volume of which is equal to X, than one 2X strip. This will increase RAM performance by 10-15%.
Step 8
Turn off your computer and connect new memory sticks. If the system displays an error while loading the OS, remove the old brackets and turn on the computer again. Naturally, after a successful download, turn off the PC and return the old boards to their rightful place.


