The capacity of commercial hard drives is constantly growing. And although the amount of data stored on personal computers has also grown dramatically over the past few years, users are no longer faced with the problem of insufficient space to accommodate them. On the contrary, in the presence of free space, the task of organizing effective data storage for more successful work with them becomes urgent. Therefore, often when buying a new drive, the user thinks about how to split the disk into two local ones, assigning each of them to store information of a certain type.
Necessary
Administrator rights in Windows
Instructions
Step 1
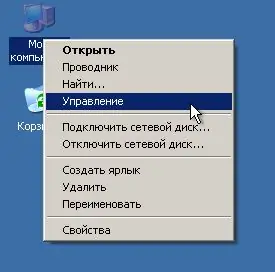
Open the computer management program. Right-click on the "My Computer" icon. In the drop-down menu, click on the "Control" item.
Step 2
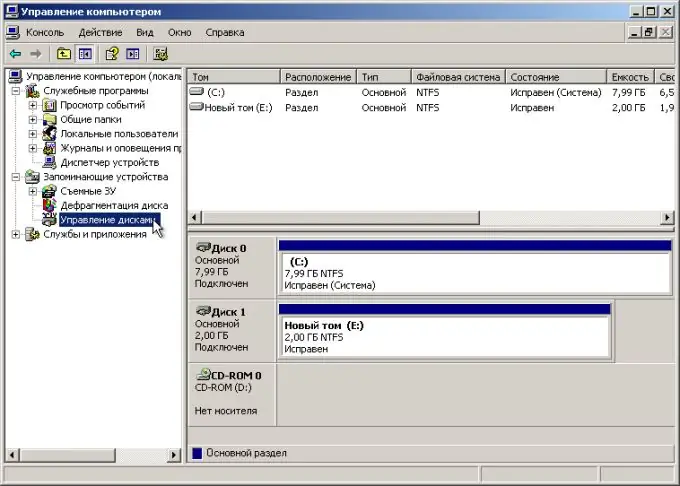
Go to the disk storage management section. Expand, if necessary, the "Computer Management (local)" group in the list located on the right side of the application window. Expand the Storage Devices group. Expanding and collapsing groups is carried out by clicking with the mouse on the "+" sign located next to the text labels. Highlight the "Disk Management" item. The Disk Management snap-in interface will be displayed on the right side of the window.
Step 3
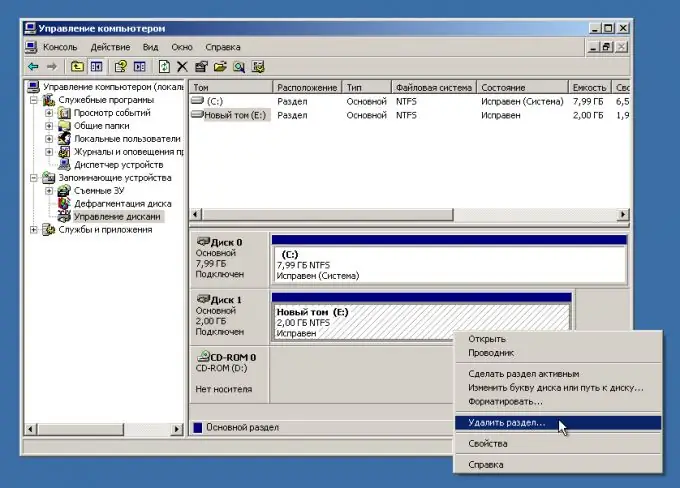
Delete all partitions of the partition to be partitioned. In the list of devices, find the disk drive that you want to split into two local drives. Select it by clicking on the corresponding element with the mouse. A disk can have one or several or no partitions created at all. If the sections do not exist, proceed to the next step. If there are partitions on the disk, proceed with deleting them. Right click on one of the disk partitions. In the context menu, select the "Delete section" item. In the warning window that appears, click the "Yes" button. Do the same for all partitions on the disk.
Step 4
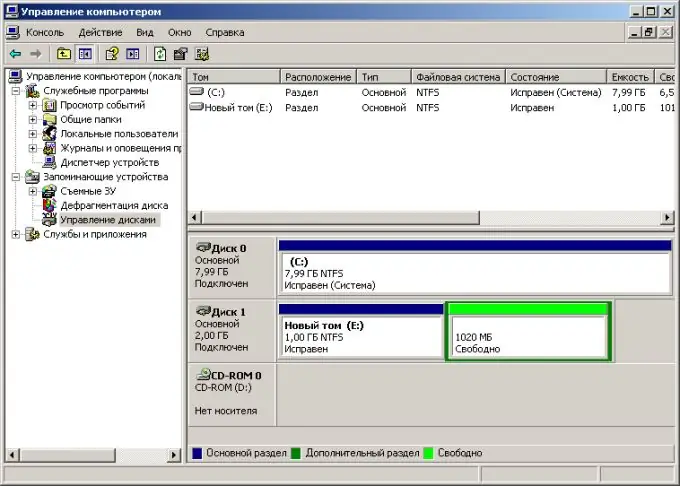
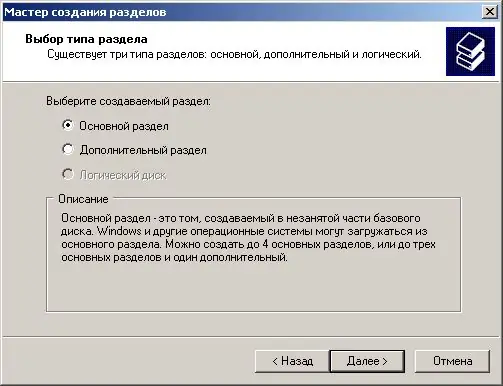
Create a new partition on your hard drive. Right-click on the empty space of the item corresponding to the disk. In the context menu, select the "Create section …" item. The partition creation wizard will be displayed. On the first page of the wizard, simply click Next. On the second page, check the "Create main section" option and click "Next". On the next page, in the Selected Partition Size (MB) field, enter the desired partition size. Since the disk needs to be split into two, enter a value that is less than the maximum disk size. Click Next. Select your preferred drive letter and click Next again. Select the options for formatting the disk. Click Next. Wait for the formatting to finish. Click Finish. The created partition will appear as a new drive under the selected letter in the list of local drives on the computer.
Step 5
Create a second partition on the disk. Right-click the area labeled "Not Allocated". In the drop-down menu, select "Create Section". Follow the steps similar to those described in step 4, except that on the second page of the wizard, you can select the "Additional section" option, and on the third page, do not change the data volume figure for the section, thereby setting aside all available space for the new section. As in the previous case, the new partition will be visible in the list of local drives under the selected letter.


