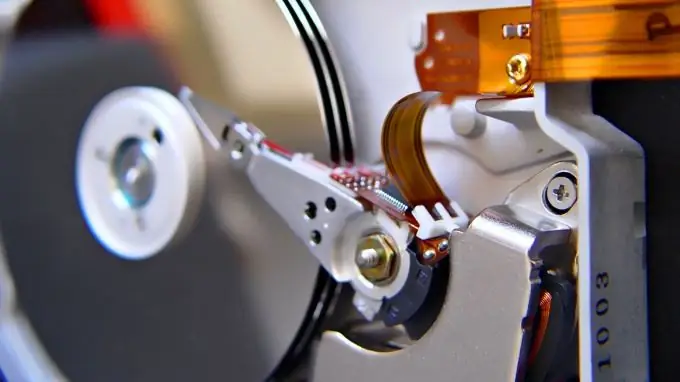
In rare cases, it becomes necessary to transfer the operating system to another hard drive or partition of the used hard drive. Modern software allows you to do this in several different ways.

Necessary
Partition Manager
Instructions
Step 1
As a first option, try creating an image of the operating system and then restoring it to a different partition on the disk. Open the computer control panel. Select the "System and Security" menu. Go to Back Up and Restore.
Step 2
Examine the contents of the left column of the menu that opens. Select "Create a system image" and navigate to it. Wait until the process of determining the devices suitable for storing the image is completed. Choose any suitable location, for example, a hard disk partition and click the "Next" button.
Step 3
A new window will display a list of sections to be backed up. Click the "Archive" button to create and save an image of the operating system.
Step 4
Now go back to the Backup and Restore menu. Select Create Recovery Drive. Pay attention to the following nuance: if you have a Windows 7 installation disc, then you can skip this step. Now insert the recovery disc into the drive and restart your computer.
Step 5
In the recovery menu, select the option "Recover system from image". Specify the path to the image file and the location for system recovery (drive D).
Step 6
If you are using Windows XP, it is easier to just copy the partition. Install the Partition Manager program. Restart your computer and launch this application. Select Power User Mode.
Step 7
Right-click on the system partition of your hard drive (Drive C). Select "Copy Section". A new window will display a choice of where to store the future copy. The program does not allow you to copy a partition to an already created local disk, so you need an unallocated area. If not, remove one of the local drives.
Step 8
Select an unallocated area to store a copy of the partition. Click "Next". In the window for confirming the specified parameters, click the "Finish" button.
Step 9
Now click the "Apply Pending Changes" button located on the program toolbar. Wait for the partition copying process to complete.


