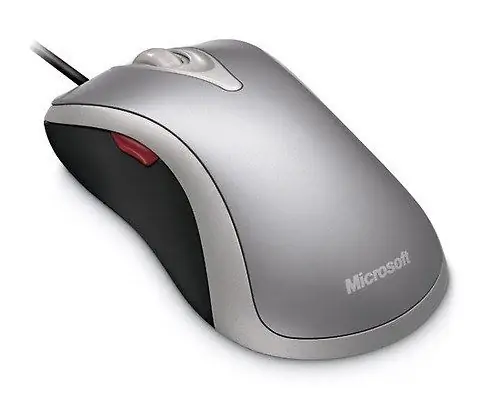
Sometimes a computer mouse suddenly becomes ineffective. This is due to the chafing of the cable near the case itself. In such a situation, you have two options: buy a new mouse or try to fix the old one.

Instructions
Step 1
Disconnect the mouse from the personal computer. Take a small Phillips screwdriver to disassemble the computer mouse. Find the fastening screws on its bottom surface. Unscrew them with a screwdriver.
Step 2
Then try to remove the top case cover. Pry it off with a thin, sharp object from the side opposite to the cable entrance to the mouse. If the case won't budge, then there are hidden screws. They are usually located under the rubber feet of the mouse. Remove the rubber bands from the holes. Use a Phillips screwdriver to remove the remaining screws.
Step 3
Look under the stickers. Mounting screws may also be hidden there. Please note that damage to the sticker can only be done if the warranty period has expired. Otherwise, it will not be possible to fix your computer mouse at the service center.
Step 4
Save the rubber feet as it will be very inconvenient to use the mouse without them. So, to disassemble the mouse, remove the upper part of the case. Extract the scroller. It is usually equipped with a shaft secured on one side in a split joint. The other end of the shaft must fit into the bore of the encoder.
Step 5
Lift the shaft over the pivot and remove it from the hole. Remove all screws holding the board. Then fold back the latches. Then remove the optical overlay and lens from the board. Leave the multi-pin connector in the same place. Take a wire cutter, cut the wire before it enters the body.
Step 6
Cut off the damaged piece of cable to repair the mouse. Then strip the contacts. Take a soldering iron. According to the colors of the pins, solder them to the multi-pin connector inside the mouse case. Then connect it to your computer. See if the LED is on and if there is a reaction to the rotation of the scroller.
Step 7
Then you can return the lens to its original place and check if there is a reaction to movement. If the mouse works properly, reassemble it. If not, check the correct soldering on the multi-pin connector. You may have left a jumper between the pins.


