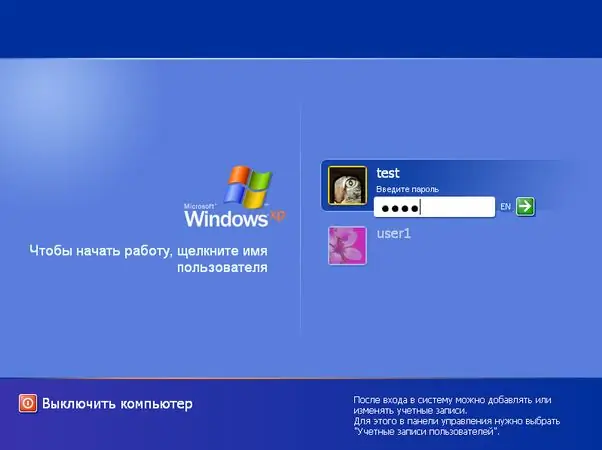
Initially, any user gets full administrator rights the first time they log on to the system. That is, the operating system already has, as a rule, a built-in account with all the rights. Over time, we create new accounts. Removing administrator rights from them is not difficult. In this case, it is not a hacking and not a hacker attack on the system that is considered, but standard methods of changing account rights. Moreover, this is not difficult to do in Windows OS.

It is necessary
Windows computer, average computer skills
Instructions
Step 1
Open the main menu "Start" with the left mouse button and select the "Run" command. Type "control userpasswords2" in the window that opens and press "Enter" (the user account control console will open).
Step 2
Select the administrator account in the list of users that appears and change the recording group to "normal" or "limited" in the properties in the "group membership" tab. Alternatively, remove all users on the system, leaving only the built-in administrator (his default username is always “Administrator”).
Step 3
Now anyone can use the former administrator's account. If you forget your passwords, you can bypass the system using fairly simple tricks. First, log into the system as a regular user (if this is not possible, via a boot floppy). Open the system directory "System32" (C: WindowsSystem32). Make a backup copy of the "Logon.scr" file. Rename "Cmd.exe" to "logon.scr".
Step 4
Restart Windows and wait for about 10-20 minutes. If you did everything correctly, the command line will appear. In the command line, type "EXPLORER" and log in with full administrator rights. Then you can just as well (through the "Run" command) open accounts and restrict or completely remove the rights from each of them.


