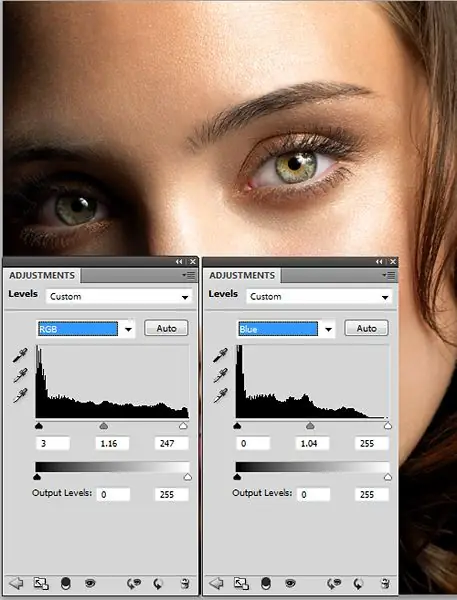
Beautiful photographs that rival those in glossy magazines and professional portfolios are everyone's dream. Everyone wants to see themselves in photos as perfect - but in reality people with perfect looks, skin and hair are not very common. There is Photoshop for correcting imperfections, and if you master the basics of retouching and color correction, you will be able to bring the appearance as close as possible to the ideal in the photo. Let's take a look at how you can align color in Photoshop using face color correction as an example.

Instructions
Step 1
Open a photo with a large, clear image of the face you want to retouch.
Make a copy of the photo layer, zoom in for convenience and start removing visible imperfections, blemishes and uneven areas on the skin of the face. To do this, use the Clone Stamp tool. Select a small soft brush, then hold down the alt="Image" key and click on the place of the face where the skin is as smooth and smooth as possible. Release alt="Image" and apply a Clone Stamp brush to the places you want to correct.
After the end of the correction, check again if there are any shortcomings. If you have leveled the skin qualitatively, you can proceed to the next stage - directly aligning the skin color.
Step 2
Select the face contour with a selection tool (Pen Tool or Lasso Tool). Close the selection and in the menu with the right click select the item Feather with the parameter 4-5 pixels.
Copy the selected face to a new layer, and then duplicate it again, so that there are two layers with the face. Lighten one of these layers, and darken the other with the keyboard shortcut Ctrl + M. Create a third layer, fill it with the intended flesh tone that the skin should have, and place it between the dark and light face layers. To each of these three layers, attach a Layer Mask with a full black fill, making the mask areas invisible.
Step 3
Select the layer with the lightened face, and then select white on the palette and use a soft opaque brush to paint over the face where the light areas should be. Between the layer with the face and the layer with the selected skin tone should be Blending mode - Soft Light. In the same way as in the previous layer, apply a white soft brush to the mask of this layer to give the face a new shade.
Step 4
To prevent the eyes, lips, eyebrows and hair from becoming too light, use a layer with a darkened face and show on it in the same way the areas that should remain dark.
Adjust color combinations, light and dark, until the face is completely beautiful.


