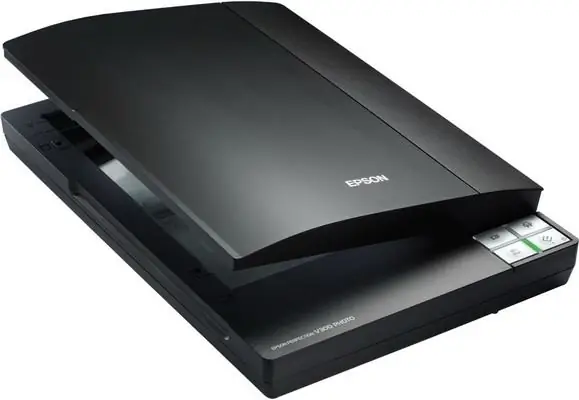
With the proliferation of multifunction printers that combine a scanner and a printer, a large number of people have been able to scan images and digitize them from the comfort of their homes. Of course, scanners were sold earlier, but their distribution was quite limited.

It is necessary
Computer, scanner, scanning software, basic computer skills
Instructions
Step 1
To work with the scanner, you need to install its driver. To do this, run the installer from the included disk. Typically, the driver is installed with the scanning software package. After installation, its shortcut will appear in the list of installed programs or on the desktop.
Step 2
Place the sample in the scanner with the image facing the glass. Run the program. In the window that opens, select the "Scan" item.
Step 3
Scanning is usually performed in several stages. The first of them is a preliminary scan, which in a few seconds determines the boundaries of the sample in order not to "study" an empty field during the main scan. You can define the scan area yourself, to do this, just drag its borders with the mouse.
Step 4
After the prescan, the parameter selection window will appear. Set the desired resolution in dots per inch, color depth, and chromaticity of the final image (color or black and white). Remember that the higher these parameters, the longer the scan will take and the better the result will be.
Step 5
The last step in scanning is to save the resulting image as a file on your hard drive. Select the save path and file type. At the same time, the "tiff" format allows you to save more information for subsequent image processing, while "jpeg" saves disk space and makes it easier to transfer images over the Internet.


