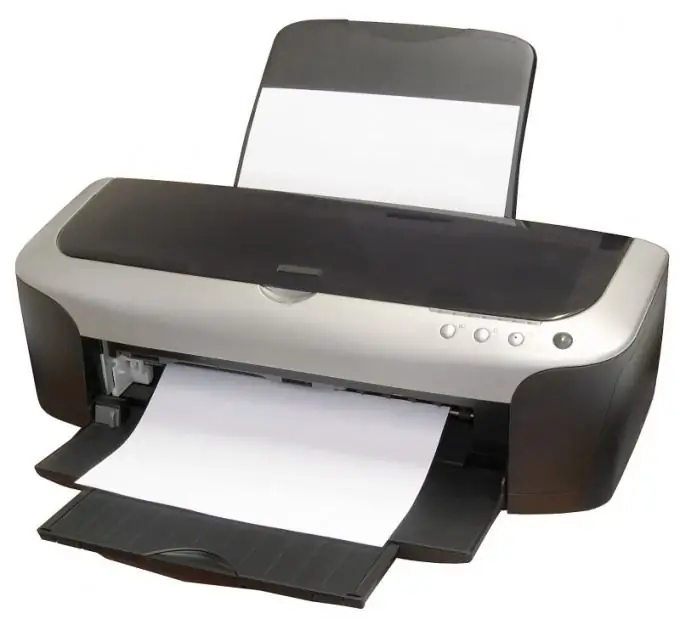
If the image that you want to print has dimensions that exceed the maximum possible format of the printer, then you can find several ways out of the situation. For example, you can zoom out or find a print device of the required format somewhere. Alternatively, it is possible to divide the image into fragments and print it on several sheets using the standard means of the operating system and the printer itself.

It is necessary
Printer and consumables
Instructions
Step 1
Start by turning on and preparing the printer for printing. Make sure there are enough sheets of paper in the input tray, the machine is connected to your computer, and loaded with toner.
Step 2
Take advantage of the capabilities in the printer software itself - this is the easiest way to print an image that does not fit on one sheet. It does not require the use of additional software - the automatic separation function is included in the drivers of most modern printing devices. To use it, for example, in the Windows 7 operating system, start by launching the standard file manager - Explorer. Press the Win + E keyboard shortcut, and when the application starts, use the directory tree to navigate to the folder where the desired image file is stored.
Step 3
Select the picture, and then call the send to print dialog. This can be done by clicking on the "Print" inscription in the upper part of the Explorer window, or you can right-click the file and select the "Print" line in the pop-up context menu. This will open a window titled "Print Images"
Step 4
In the drop-down list under the "Printer" label, select the desired printing device. In the "Paper size" field, set the size of the sheets to be used, and then click on the "Options" link in the lower right corner of the window. In the additional dialog that appears, you need to click the inscription "Printer properties" - it launches the driver of this peripheral device
Step 5
Depending on the type of printer you are using, the print settings window may look different and the setting you want may be labeled differently. For example, in the Canon driver, open the Page Layout drop-down list and select the appropriate line in it - 2x2 Poster, 3x3 Poster, or 4x4 Poster. And in the print settings panel of the Xerox printer, this setting is placed in the drop-down list indicated by the inscription "Page Layout". Choose the option to place the large image on four, nine, or sixteen sheets of paper based on the size of the picture
Step 6
Click the OK button in the device driver panel, then the same button in the open print settings dialog, and finally, the Print button in the main window for sending the image to the printer. After that, the printout of the image will begin, during which you will see the corresponding information message on the screen.


