Often there are situations when it is necessary to restore a temporary Internet file or save a Microsoft Word document that was lost due to a virus attack or a banal power outage. There are many programs that you need to buy to recover temporary files. However, there are a few free ways as well.

Instructions
Step 1
So, if for some reason you did not have time to save a text document, and the computer suddenly turned off or the program simply hung, do not give up. Try to restore it in the following way: start the Microsoft Word application and find the "File" menu in it, then click "Open".
Step 2
Next, click on the arrow next to the "Open" button and select "Open and Restore". In the same window, find the document that you need to recover and try to open it. This method works about half the time, but there are other methods.
Step 3
Just try to find and open the document from the temporary files folder. To do this, enter the path to the folder where temporary files are stored in the address bar. For example, on Windows XP, the address would be: C: Documents and Settings Computer name Local Settings Temp. If you are using Windows 7, type C: Users Computer name AppDataLocalTemp. These are folders where temporary files from your computer and downloaded from the Internet are stored for a certain time. Sort them by creation date and find the file you are interested in.
Step 4
Remember that temporary text files have a.tmp extension, which must be changed to.doc to open. If Windows 7 is installed on your computer, then the extension does not have to be changed - it will immediately have a "normal" appearance.
Step 5
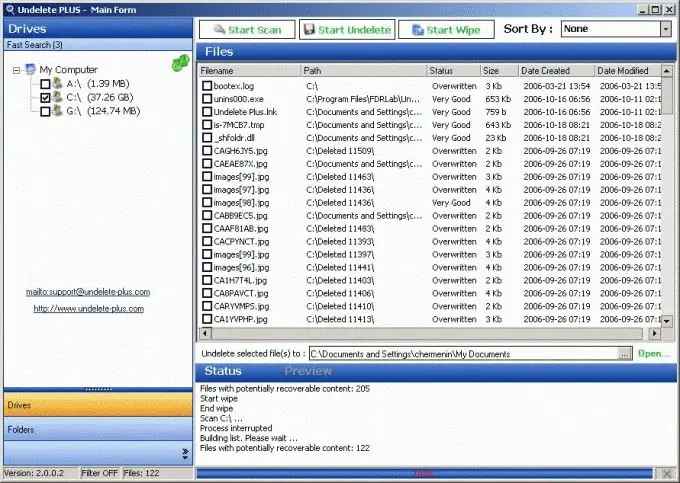
To recover files, you can also use special software - Recuva. This program allows you to recover temporary and deleted files of any type. Download the program, install it and run it. In the first window, select the type of file to be restored: photo, music, video, document, email, archive, and more. Next, select the approximate or exact (if known) location of the file. After that, click the "Next" button and wait while the application searches for all available documents and files, among which you need to find the one you need. You can also sort the list of found files by type or date, so that the search can be done faster. Select the file you need and click the "Recover" button.


