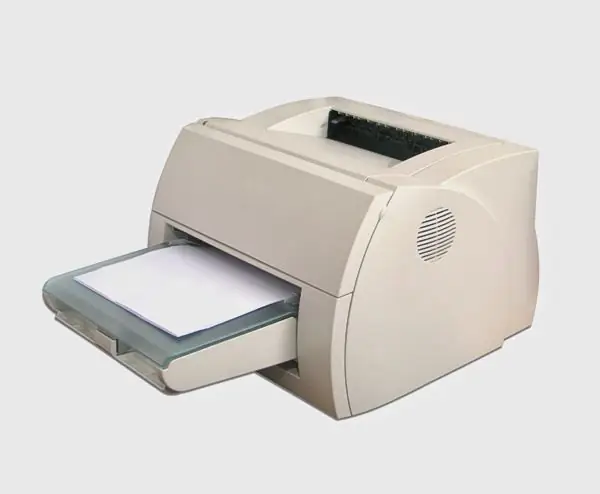
For a printer to work, it must not only be physically connected to the computer and to the network. For its operation, you will need to install a driver corresponding to your printer model. The installation disc may be missing for some reason, but this is not a reason to pack the printer back in the box. You can install the driver for the printer from the Internet.

Instructions
Step 1
Determine your printer model. This information is contained in the documentation that came with the equipment. Also, the necessary markings are usually applied to the body of the printer itself. At the beginning of the name, the manufacturer of the equipment is indicated, then the model, and in the end - the series. Write them down or memorize them.
Step 2
Launch your browser and find the official website of the hardware manufacturer. For example, to install the driver for the HP LaserJet 1005 printer, go to the Hewlett Packard website, go to the Support & Drivers section, and select the Drivers & Software section. In the empty field, enter the name of the printer, indicating its model and series (LaserJet 1005), click the "Search" (Surch) button.
Step 3
Wait until the list of found matches is formed. Select the appropriate item from the list. Three matches were found for the query "laserjet 1005" - two of them were drivers for a regular printer, one was for a multifunction printer. Click on the link-line with the desired name to go to the next page.
Step 4
On the page that opens, specify your operating system. To clarify the version of the operating system, right-click on the "My Computer" icon from the desktop, select "Properties" in the drop-down menu. Information about the system is contained in the "General" tab. Select the version of the system installed on your computer on the website page from the drop-down menu and click the Next button.
Step 5
From the list, select the item "Driver - Product Installation Software" and click on it with the left mouse button to go to the driver download page. On the page that opens, click on the Download button, specify the directory for saving the file, wait for the download to complete.
Step 6
Typically, drivers are now automatically installed. Go to the folder with the file you just downloaded and select the "Setup.exe" or "Install.exe" icon. Follow the instructions to install the driver on your computer. If you are not completely sure of what you are doing, do not change the directory for installing the driver, just click the "Next" button. After installing the driver, launch the Add Printer Wizard and follow the step-by-step instructions of the installer.


