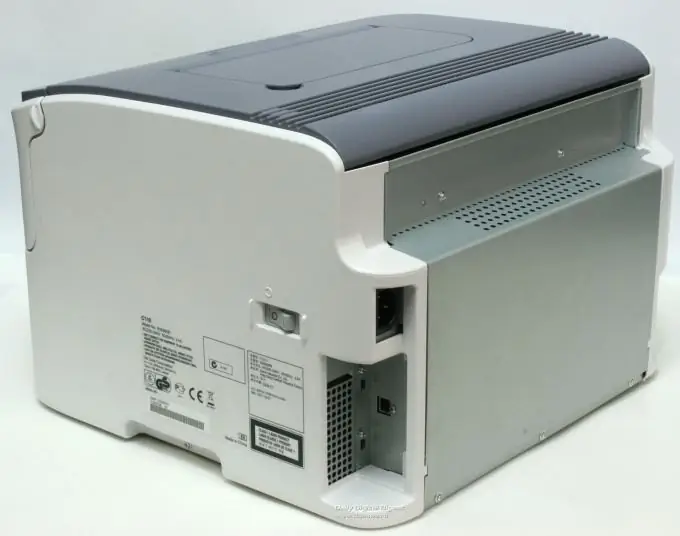
For many office LANs, the issue of connecting a printer so that all computers can access it is acute. To accomplish this task, it is necessary to correctly configure the parameters of some devices.

Instructions
Step 1
First, select the appropriate printer. There are devices that can connect not to computers, but to network hubs or routers. They are a little more expensive, so if you don't really need to buy one, choose a printer that connects via a USB port to a PC.
Step 2
Select a personal computer or laptop that is part of the local network. It is desirable that this device was turned on for the maximum amount of time.
Step 3
Connect the printer to the selected computer and install the required drivers and software. Make sure the equipment is working properly.
Step 4
Now you need to allow other users on the network to use this printer. Open the "Start" menu and select "Devices and Printers". Right-click the icon for your printer and select Show Printer Properties.
Step 5
Find the item "Share this printer" and check the box next to it. Enter a name for the printer that will be displayed to users on the network.
Step 6
If your local network has computers with other operating systems, then it is recommended to install additional drivers suitable for these operating systems. To do this, click the "Additional Drivers" button.
Step 7
To use the printer from another computer, open the Devices and Printers menu. Click the Add Printer button at the top of the window.
Step 8
In the window that appears, select "Add a network, wireless or BlueTooth printer". If the program could not automatically find the required hardware, then click the "The required printer is not in the list" button.
Step 9
Activate the item "Select a shared printer by name", enter the name indicated earlier, and click the "Browse" button. Select the desired printer and click Next.


