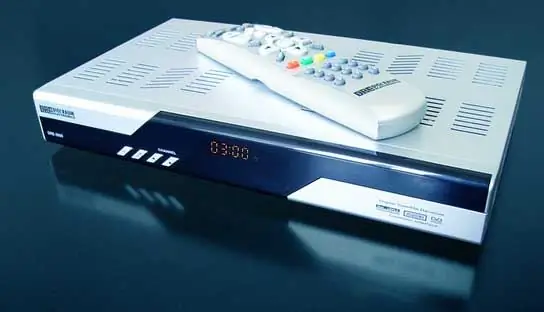
With the help of a device such as a satellite receiver, it becomes possible to transmit images from a converter installed on a satellite dish. In order to connect a satellite receiver to a computer, you need to be guided by the following action plan.

Instructions
Step 1
You need to connect the receiver in the same way as if you were connecting another computer to your home computer network. It is important to know that direct connection of the receiver to the computer will not be the correct connection option.
Step 2
In order to ensure reliability and normal operation, the satellite receiver is connected to the modem using a router or switch with a twisted pair cable.
Step 3
After connecting the receiver to the computer, certain settings must be made. In the TV settings in the "Network Settings" item, enable the DHCP line to obtain an "IP" address on the network. Write down this address for yourself on a notepad, you will need it for further connection settings.
Step 4
It is recommended to use a program such as Total Commander to communicate with the receiver. Find the URL string in this program and write down your IP address recorded earlier in it. Name your connection whatever you want. Click "Connect" and enter your username. The password is optional.
Step 5
The main settings for your receiver will be in varkeys. The settings will be saved in the softcam.key file. The settings for cardsharing will be saved in the newcamd.list file. You can change the settings of your satellite receiver using Total Commander. The newcamd.list file can be edited with a text editor.
Step 6
This file will also need to enter the data that the provider will give you. Information provided by the provider should be kept confidential. After setting the required number of ports, you need to reboot the receiver emulator.


