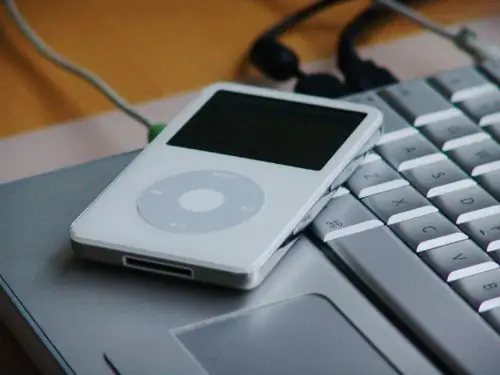
Apple's iPod has been the go-to choice for the music lover who wants their entire music collection with them for several years now. Of course, its functionality is not limited to listening to music. Even the iconic iPod Classic and the miniature iPod Nano can store a collection of photos. But what if you want to free up some of the space occupied by your photos for other needs?

Necessary
- • Your iPod
- • Computer with iTunes installed
- • Standard USB cable for Apple portable technology
Instructions
Step 1
The described methods are suitable for all types of iPods. Since the software in different versions of the player is different (especially important for the iPod Classic), the easiest way is to use the iTunes program recommended by the manufacturer.
Step 2
Connect your iPod to your computer and open iTunes if it doesn't automatically. Select your iPod in the left navigation pane under Devices and go to the Photo tab in the main program window.
Step 3
The first option in the "Photos" window is "Sync photos from". Uncheck the box next to this item (this is how your photos should have ended up on the iPod). If this checkbox is not present, then go directly to step 5. After unchecking the checkbox, a pop-up window should appear in which you will be asked to delete all photos on the player. Confirm the deletion.
Step 4
Just in case, click on the "Apply" button in the lower right corner of the program. This will once again sync the setting change. Disconnect your iPod from your computer and check for photos on it by going to the appropriate section in the player's menu. If the photos have not been deleted, try using the method described in the next steps.
Step 5
Reconnect your iPod to your computer, go to iTunes and select your player in the list of devices on the left. Go to the "Summary" tab, in it you will see the item "Enable disk use". Select this item, click Apply and close iTunes.
Step 6
Log into the file explorer you are using (My Computer in Windows or Finder in Mac OS). To be sure, unplug your iPod from your computer, wait a while, and plug it back in. Now the iPod should appear as an external drive that can be used to transport any files (including photos) like a USB flash drive.
Step 7
Log into your iPod through Explorer and you will see a list of folders and files on it. Photos are in the DCIM folder. Delete this folder. Disconnect your iPod from your computer.


