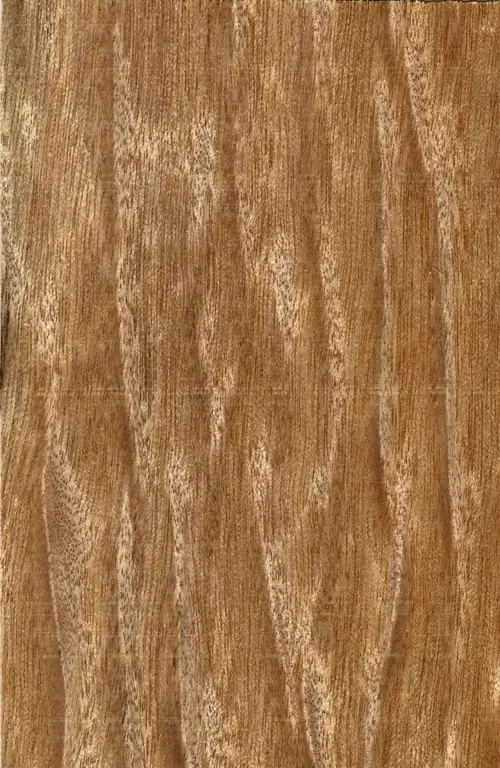
Textures are used in a wide variety of areas of design and graphics - when creating backgrounds and various objects in Photoshop, and of course when working with three-dimensional objects in 3DMax. If you work with such programs, and especially in 3D, the skill of creating realistic photographic textures will be very useful to you. In this article, you will learn how to create smooth textures from photos in Photoshop.

Necessary
Adobe photoshop
Instructions
Step 1
Choose a photo from which you will extract texture, for example, a photo in which there is an obvious textured object (for example, wood or stone).
Step 2
Crop the selected piece of the photo using the Crop tool. The fragment should be square for the subsequent convenience of working with the texture.
Select the fragment (Select> All), and then go to the "Edit" menu and select the "Define Pattern" item so that your fragment is defined as the structure of Photoshop.
Step 3
To test the texture's functionality, open a new empty file and fill it with the created texture (Edit menu, Fill command). You will see that the texture does not fill the empty area evenly, but with noticeable boundaries.
These boundaries need to be ironed out, and to do this, open the "Filter" section and select "Offset". Adjust the pointers so that all borders and seams are in the center of the drawing.
Use the Clone Stamp tool and blend out the edges, selecting the original clone areas with the Alt key. If there are sharp contrasting spots and elements in the texture, retouch them as well, otherwise they will be repeated in the texture. In addition, imperfections can be corrected using different settings for lighting, brightness and saturation of the image.
Step 4
After the retouching of the seams and imperfections of the texture is finished, save the changes and re-save the texture in the desired format. Now it can be used in programs for working with 3D-format.


