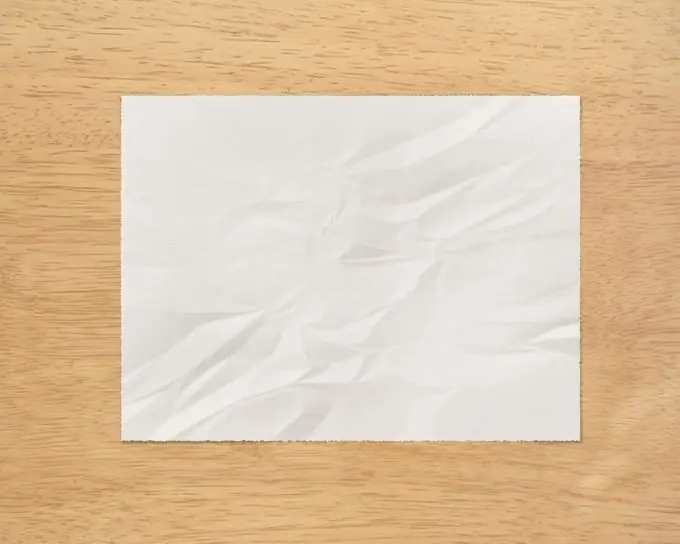
It is very easy to create a realistic paper texture from scratch in Photoshop. For this we will be using several filters and effects.
Necessary
Adobe Photoshop program
Instructions
Step 1
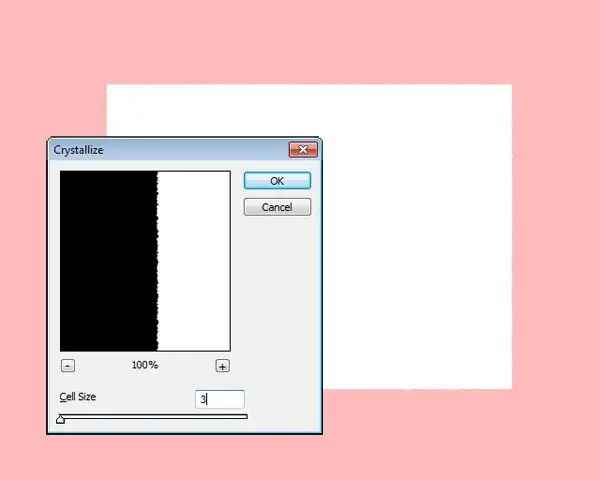
Create a new document at 1280 x 1024 px. Make a rectangular selection in the center of the canvas and press Q to switch to Quick Mask mode. Go to Filter> Pixelate> Crystallize, select a small cell size and click OK. Press Q again to return to normal mode. Create a new layer, press D and then Ctrl + Delete to fill the selection with white. To deselect, press Ctrl + D.
Step 2
Select the Burn Tool with an exposure of 20% and drag across the canvas until it looks slightly dark and muddy. Go to Filter> Texture> Texturizer, select the Canvas texture and click OK.

Step 3
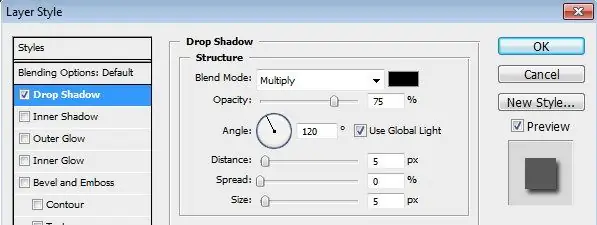
Double click on the "paper" layer to open the layer styles. Turn on the Drop Shadow effect and click OK.
Step 4
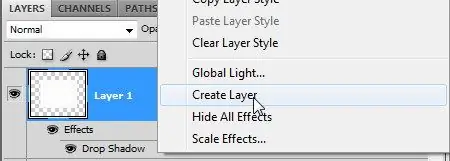
In the Layers panel, right-click on the Drop Shadow effect and select Crete Layer to separate the shadow from the "paper".
Step 5
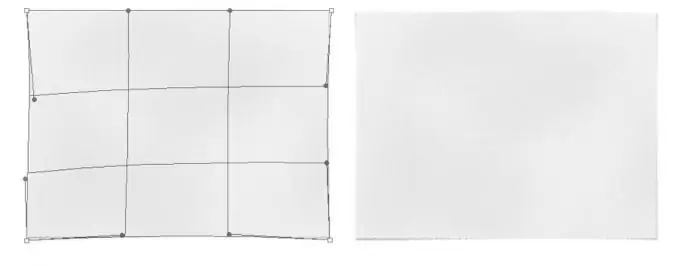
Select the shadow layer, press the key combination Ctrl + T to transform, right-click on it and select Warp. Move the handles until the shadow looks realistic.
Step 6
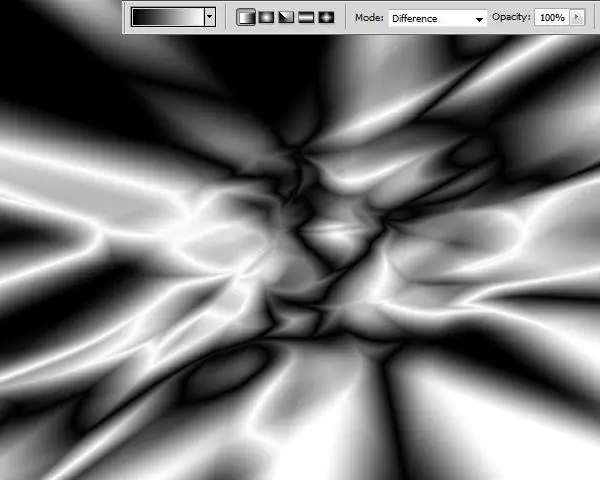
Select the Gradient Tool, in the Options Bar, select Linear and the Difference Mode. Create multiple arbitrary gradients in different directions - top to bottom, bottom to top, left to right, right to left, etc.
Step 7
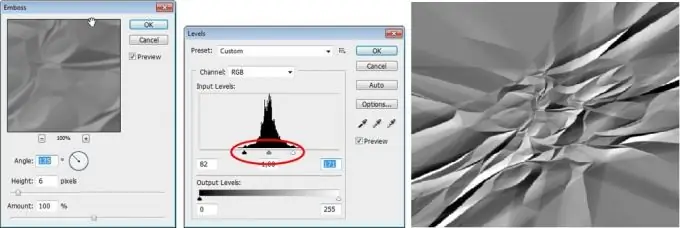
Go to Filter> Stylize> Emboss. Press Ctrl + L and move the black and white sliders to the center.
Step 8
Press Ctrl + Alt + G. Change the blending mode to Overlay.


