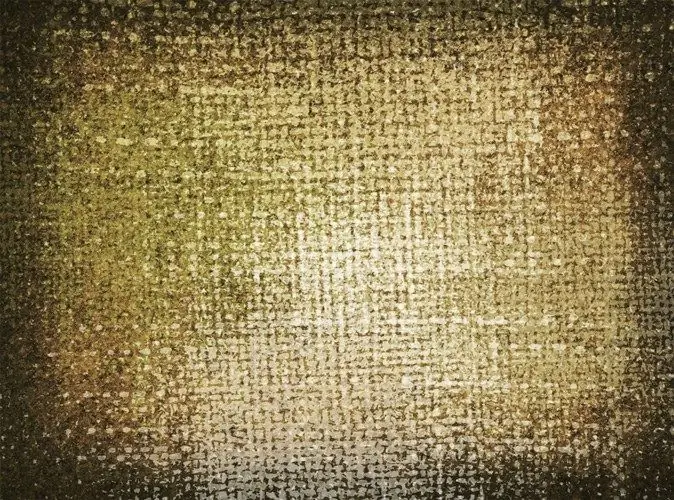
To add decorativeness to backgrounds and additional realism to the surfaces of objects, you can apply a texture created using the tools of the Photoshop program to them. One of the tools for simulating a relief surface is the Texturizer filter.

Necessary
Photoshop program
Instructions
Step 1
You can apply a relief simulation drawn in a separate document to the finished surface. To do this, use the New option of the File menu to create a document with a white background in RGB mode. Fill it with a neutral color using the Fill option of the Edit menu and choosing 50% Gray from the list in the Contents field. The texturizer can also be applied to a white layer, but the relief in this case will be barely visible.
Step 2
Open the filter settings with the Texturizer option in the Texture group of the Filter menu. You can use the Filter Gallery option located at the top of the same menu for this, and switch to Texturizer in the window that opens.
Step 3
By default, this filter can simulate the surface of rough cloth, sandstone, canvas, and brickwork. However, Texturizer allows loading custom psd textures. If you want to create a semblance of a plane with cracks, tree bark, tiles, take a high-quality snapshot of a suitable surface and save it to a psd file. In the Texturizer window, click on the button to the right of the texture list and load the file.
Step 4
Adjust the size of the texture sample by adjusting the Scaling parameter. The Relief setting will give you the ability to control the depth of the texture relief. This happens due to the enhancement of the contrast of midtones, so you should not abuse this parameter. Otherwise, the picture will look like after sharpening.
Step 5
Select from the Light list the direction of the light falling on the created surface. If necessary, enable the Invert option, which will swap convex and concave places on the image. This option can come in handy if the brickwork in the picture you are working with turned out to be concave.
Step 6
Apply the filter settings to the image with the OK button. Use the Save option of the File menu to save the created relief to a psd file.
Step 7
To overlay the relief drawn in this way on a fragment of the finished picture, open it in Photoshop and drag the layer with the relief into the image window using the Move Tool. If the file to which you are adding the texture is saved in.
Step 8
Move the relief under the image using the Send Backward option in the Arrange group of the Layer menu. If the texture is added to a separate part of the picture, change the size and position of the relief layer in space using the options of the Transform group of the Edit menu. Blend the image with the relief in Color mode. Erase the excess parts of the texture layer with the Eraser tool.
Step 9
To save the final image, use the Save or Save As options of the File menu.


