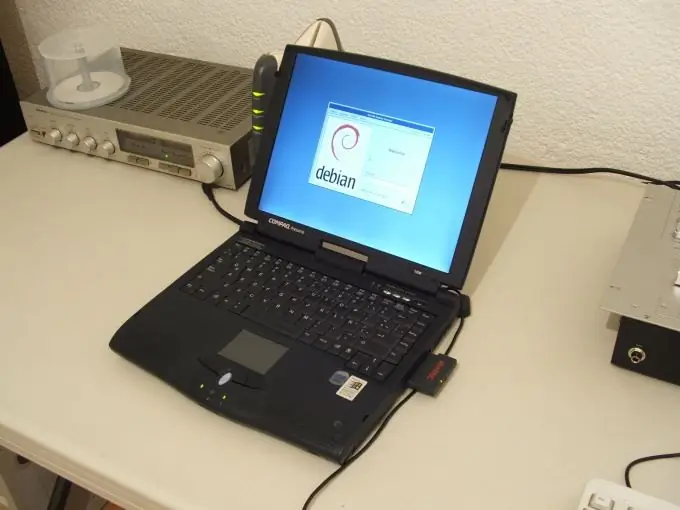
The Linux operating system attracts users with its reliability and the ability to use free software. But most laptops come with Windows preinstalled, so many users have to install Linux themselves.

Instructions
Step 1
If you want to keep the OS Windows on a laptop, under Linux you should allocate a separate disk partition with a volume of 20 gigabytes or more. If there is no such partition, it should be created using appropriate programs - for example, Acronis Disk Director. Let's say you have a 250 gigabyte C drive. Divide it into C (200 gigabytes) and D (50 gigabytes) drives. Then - attention !!! - remove drive D, getting unallocated disk space. If the installation is on a blank disk and you plan to work only with Linux, you do not need to perform the manipulations described above.
Step 2
We start installing Linux. To boot not from the hard disk, but from the DVD drive, you must press F12 when booting - a menu for selecting the initial boot device will appear. Perhaps, on your laptop, the menu is called up by another key - carefully read the inscriptions that appear at the time of the system start.
Step 3
If the menu fails, the choice of the boot device will have to be done through the BIOS. Usually, the BIOS is entered at system startup by pressing the Del or F2 key, other keys can also be used. Once in BIOS, find the BOOT tab and choose to boot from CD from there. If there is no such tab, look for the lines "First boot", "Second boot", next to them there should be lines for selecting boot devices. In the "First boot" line, select the boot from CD, then save the changes - the "Save and exit setup" tab.
Step 4
If everything is done correctly, the Linux installation from the CD will begin. At the installation stage, you will be asked to select a language, time zone, enter the administrator login and password. When prompted for where to install Linux, choose the unallocated unallocated installation. All necessary partitions of the file system will be created automatically. Later, after gaining experience, you can set partitions manually - this will allow you to configure Linux in the most convenient way for you.
Step 5
At the stage of selecting programs, you will be offered a list of applications available for installation. You can install them right away or do it later. You should be aware that in Linux you can work in different graphical shells. The appearance of the desktop, windows, etc. depends on them. The two most common shells are KDE and Gnome. Each has its own merits and demerits, so install both. You can switch between them and choose the one that you like best.
Step 6
At the final stage of the installation, you will be prompted to select a username and password and define a bootloader, usually Grub. When the system starts, the bootloader menu appears with two lines - Linux (will boot by default) and Other - that is, another operating system. You can easily switch between Linux and Windows. If the installation is on a clean laptop, then Linux will boot immediately.
Step 7
After the installation is complete, you will be prompted to restart your computer. Reboot, the bootloader menu will appear, Linux will start loading in a couple of seconds. A login window will appear, in which you need to enter the username and password of the user (not the administrator!). At the same stage, you can select a graphical shell. After downloading it, you will see the desktop of your chosen Linux distribution.
Step 8
It is worth noting that working in Linux for a user who is accustomed to Windows can leave a negative impression at first. Everything will seem very unusual and complicated, in an unconfigured system a variety of "glitches" are possible. For example, NTFS (Windows file system) partitions may not be visible, there may be problems with sound, video card, modem. The procedure for installing programs is very unusual. But the more you work with Linux, the more you will like it, and one day the time will come when you will only switch to Windows when necessary and with great reluctance.


