Currently, there are many programs and services that allow you to create PDF files from pictures (images). Almost all of them are free and very easy to use, and the entire process of creating a file with their help takes only a few minutes.
Option 1: programs specifically designed to create pdf from a set of images
Here you can highlight the free program Image to PDF Converter Free, you can download it here.
Main advantages of Image to PDF Converter Free:
1) Intuitive interface, easy to use.
2) This program supports many graphic file formats, including the most popular formats (BMP, JPG, PNG, TIFF,.
3) After conversion, the original quality of all images is preserved.
To create a PDF file using Image to PDF Converter Free, you need to do the following:
1) Run the program.
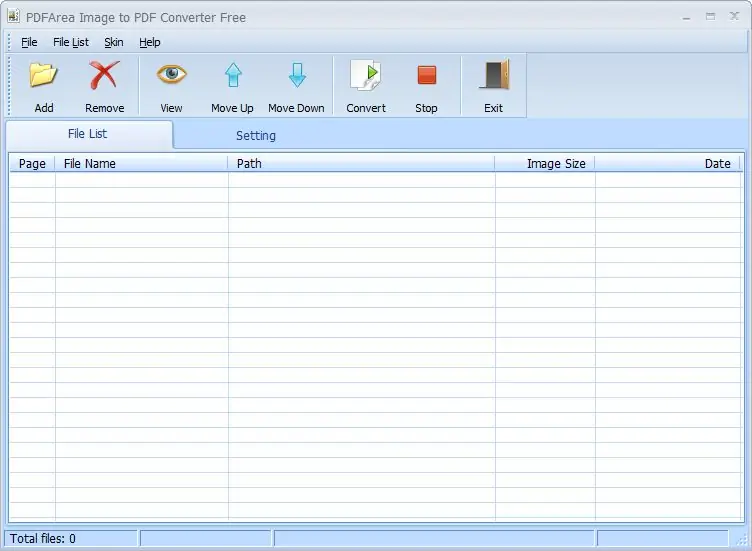
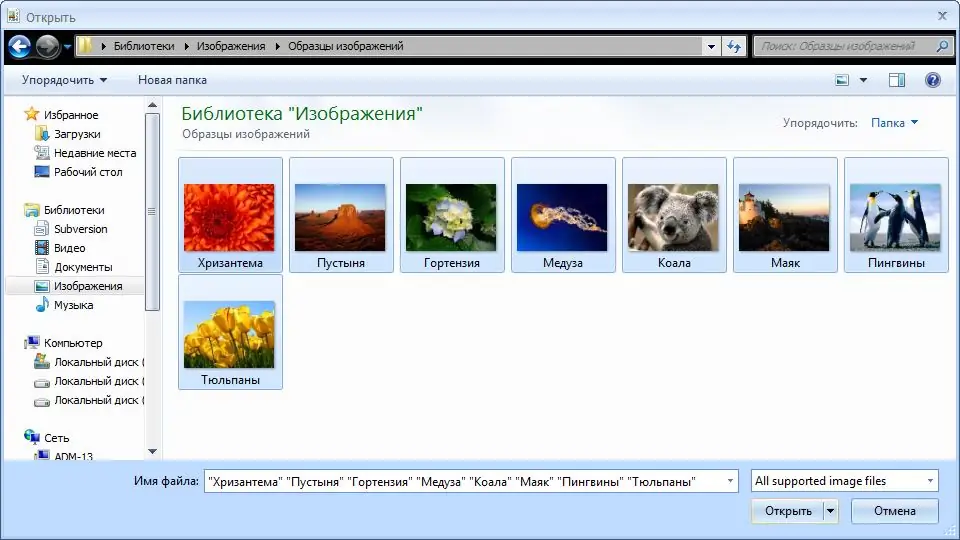
2) Click on the "Add" button to open a dialog box for selecting graphic files. If the pictures are in one folder, then it is enough to select them with the mouse and click "Open". Otherwise, you need to add files from each folder one by one.
3) A special table will display information about all the images you have selected. They will be located in the PDF file in exactly the order that you see in this table (each image will be placed on a separate page).
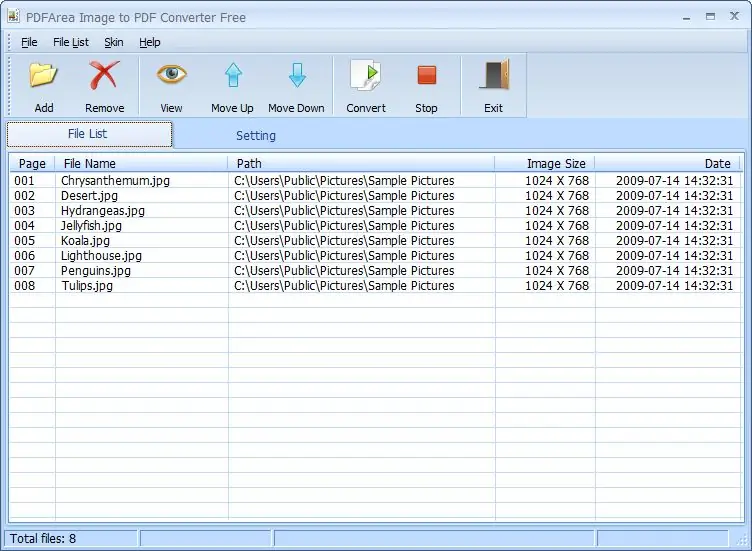
You can change the location of the pictures - the buttons "Move Up" and "Move Down" are intended for this.
It is also possible to add new pictures to the existing set ("Add" button) and remove pictures from the set ("Remove" button).
4) To start the process of creating PDF, you need to click on the "Convert" button - a window will appear, which indicates the location for saving the file and the file name.
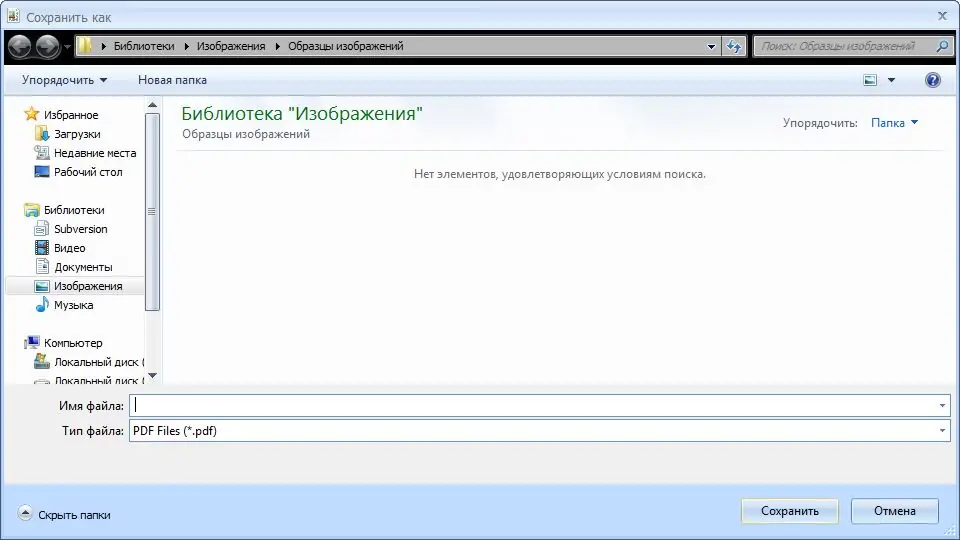
5) After clicking on the "Save" button, the conversion will start, after its completion the message "Done" will appear.
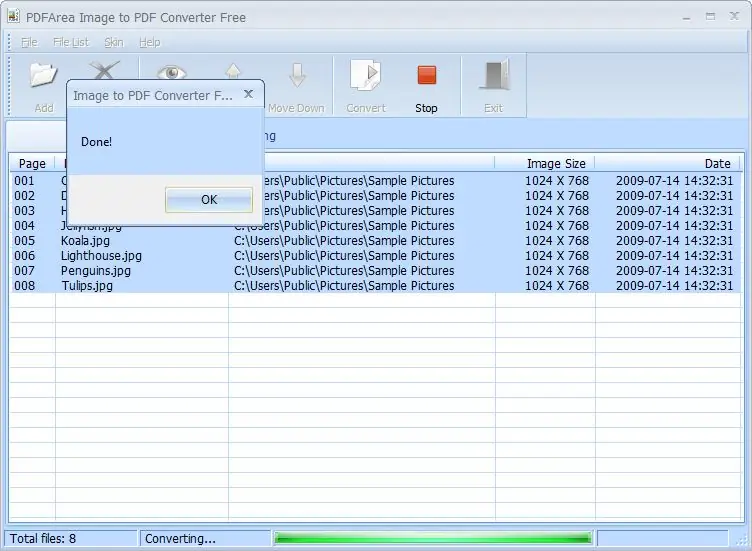
Additionally, you will be prompted to view the resulting PDF file.
Option 2: multifunctional programs for working with PDF documents
For example, in the PDF-XChange Editor, a file is created as follows:
1) In the main menu, select "File" -> "New Document" -> "From Image".
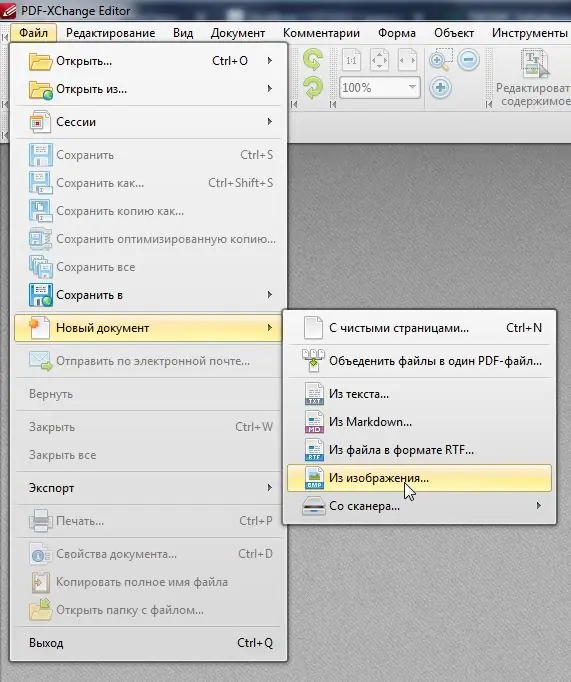
2) A window for adding graphic files will open.
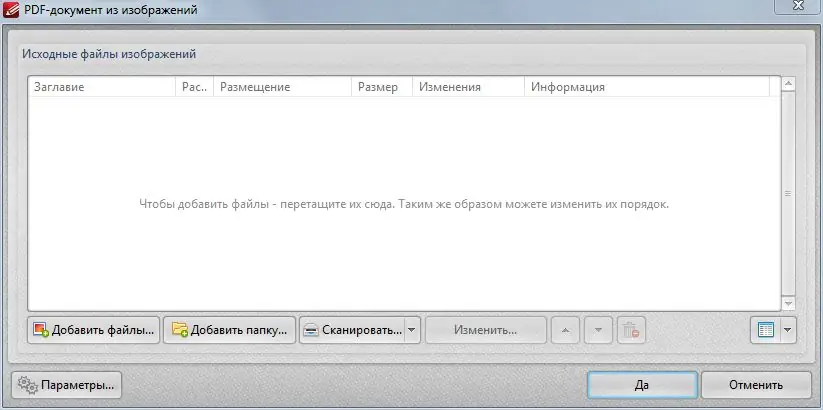
After selecting the files, click on the "Yes" button.
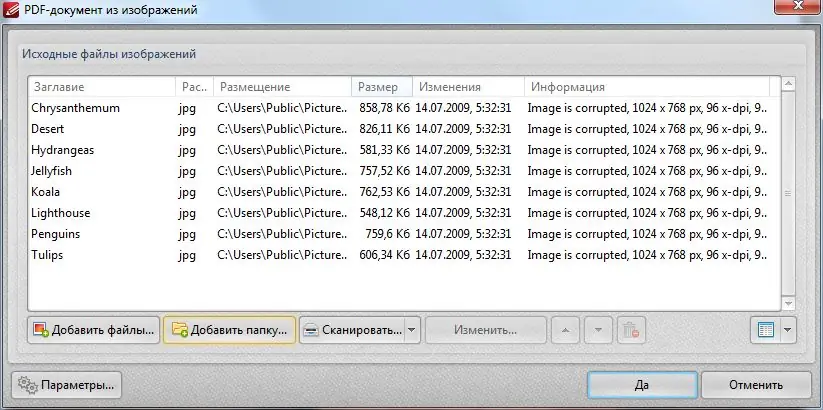
3) The process of creating the PDF file will begin.

Then all that remains is to save it using "File" -> "Save As".
Option 3: online services
An example is a service called "jpg2pdf", here is a link to it.
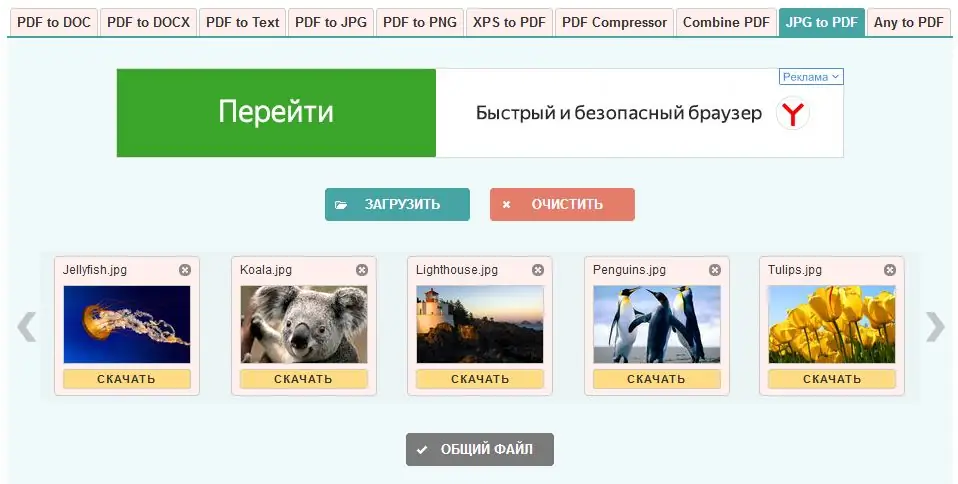
You need to upload images using the "Upload" button (the maximum number of images is 20) and click on the "Shared file" button.
Then you need to wait a little while the file is created and save it to your computer.
Option 4: virtual PDF printers
An example is doPDF, you can download it here.
You need to put all the images in a shared folder and right-click on any of them to bring up a context menu.
In the context menu, select "Print" and specify "doPDF" as the printer.
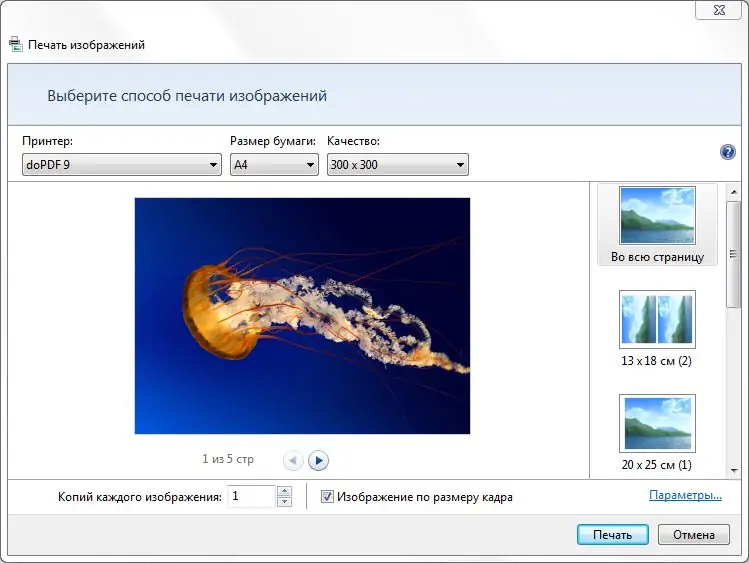
After the end of the conversion process, a special window will open where you can specify the file name and location, as well as additional parameters.


