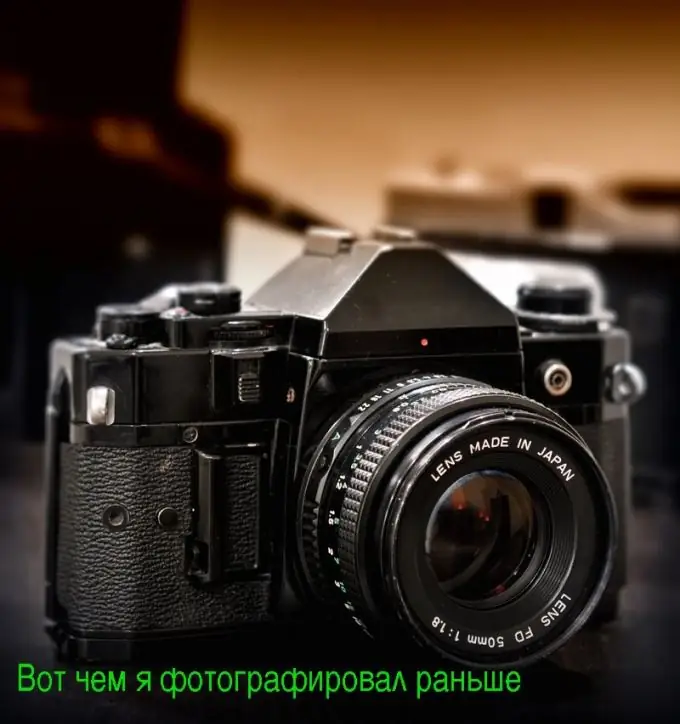
In order not to forget when and where the photo was taken, who is captured on it, it is necessary to provide it with explanatory inscriptions. This marking helps to facilitate the organization of any family photo album.

Instructions
Step 1
If the photo is film, and you do not plan to transfer it to digital format, apply text on it at the stage of contact or projection printing. Get your printer transparencies (must match the type of printer). Print on it in bold size about 14. If you plan to label many different photographs, print all the decals on one sheet of film. After printing, cut out the lettering.
Step 2
In the course of photographic printing under the light of a laboratory lamp and the red filter of the magnifier on, overlay the inscription on the film over the area of the image at the top or bottom of the image (but not in the middle) that is light on the negative (and dark on the positive). Press the transparencies against the paper with glass, then follow the normal printing, developing and curing cycle. The text will be white on a black background.
Step 3
When taking photographs with a mobile phone, if there is a graphic editor in it, open the photo after taking it. Select the Type tool, enter text, adjust its position, size and color, confirm the operation, and then save the picture. If you want to leave the original file unchanged, save it to a new one. To make the text with shadow, apply it twice, first with one desired color, then, with a slight offset, with another.
Step 4
On a computer, to apply text to a photo, use a graphics editor that you know how to use. Open the file with the snapshot, in the toolbar select the "Text" tool. Unlike on a phone, on a computer, you must first select the size, color and style of the font and the position of the caption, and only then enter the text. If you are using the GIMP editor, after applying the text, perform the "Image" - "Flatten Image" operation. Then save the file. Just as in the previous case, to leave the original image unchanged, save it to a new file.
Step 5
If you do not know how to use any graphic editors, use the online service to overlay text on a photo, the link to which is given at the end of the article.


