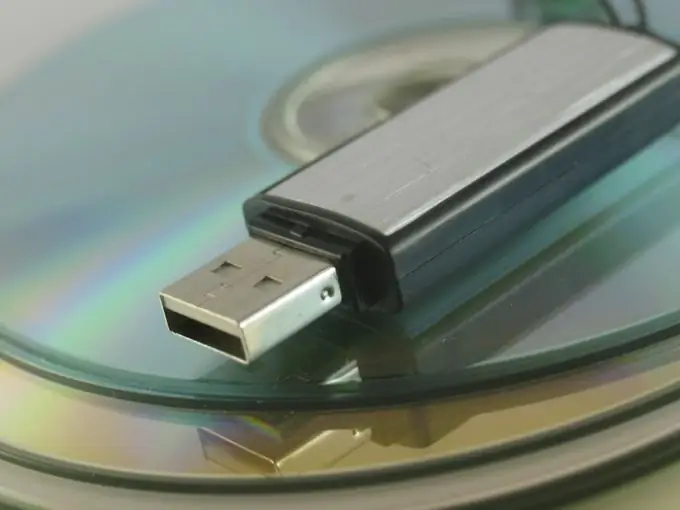
Burning a disk image to a flash drive means unpacking the files of this image. Such flash media are most often used when installing operating systems, mainly on netbooks. The netbook is designed to save space, so the installation disc should be small. Some flash drives are slightly smaller than a children's pencil eraser.

Necessary
Ultra ISO software
Instructions
Step 1
In order to write an image to a flash drive, you need to use the Ultra ISO program. Download the Ultra ISO installation distribution. This program is not distributed free of charge, so you should use a trial version of the product, it will be enough. The best option is to download the Portable version.
Step 2
Install the Ultra ISO program. Follow all the prompts of the installation wizard, which will appear in each new window.
Step 3
Run the program and insert the flash media into the USB slot.
Step 4
In the main window of the program, open the ISO image that you have prepared for writing to a USB flash drive.
Step 5
Select "Boot" - "Burn image from hard disk".
Step 6
In the window that appears, all the fields are already filled in correctly, but it's worth checking all the same. In the "Disc Drive" field, you must select the flash drive (select the drive letter in the explorer), in the "Image file" field you can see the location of the ISO image, "Burn method" - this is a matter of principle, it is better to set the value from experience. As a rule, set the value "USB-HDD +".
Step 7
Click the "Write" button - the system will ask you about formatting the flash drive - agree if the data on the flash drive does not represent any value.
Step 8
After some waiting (at this time, the flash drive is being formatted), the image will be written to the disk.


