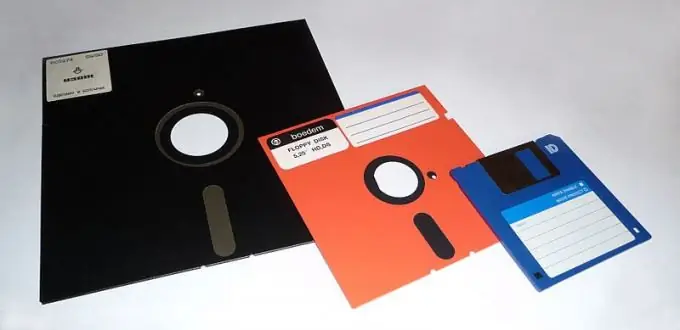
A floppy image is a file that stores information about the contents of all the tracks on a floppy disk. Usually such a file has the IMG extension. The method used to transfer it to a real floppy disk depends on the operating system you are using.

Instructions
Step 1
Before transferring the image to a real floppy disk, make sure the file is 1,474,560 bytes if it is intended to be written to a 3.5-inch high-density floppy disk. Images for other sizes and densities of floppy disks may vary in size. Please note that the packed image may have a significantly smaller volume than the unpacked one. This is due to the fact that information may not occupy all the space on the floppy disk.
Step 2
Prepare a floppy disk that does not have any bad sectors. Install it into the computer's disk drive, after removing the write protection from it, if it has one.
Step 3
If you are using a Linux operating system, use the following command: dd if = image.img of = / dev / fd0 If a floppy disk instead of drive A: is installed in drive B:, modify this command as follows: dd if = image.img of = / dev / fd1 If errors occur during writing, try again. If it fails again, replace the floppy disk.
Step 4
For DOS or Windows operating systems up to and including 98, use the rawrite utility. It is not included in the delivery set of these OS (exceptions are FreeDOS), and it must be downloaded first, for example, from the following page: https://dos.org.ru/software/RaWrite/ Run this utility without any parameters. At the first prompt, enter the full path to the image file. At the second prompt, enter the drive name (a: or b:). Wait until the end of the rewriting, and in case of its unsuccessful completion, proceed as described in the previous step.
Step 5
If you are using a Windows operating system other than 95 or 98, use the RawWrite utility (with two letters "w"): https://www.chrysocome.net/rawwrite It has a graphical interface. After launching the program, manually select the drive and image, configure additional parameters, and then start recording.


