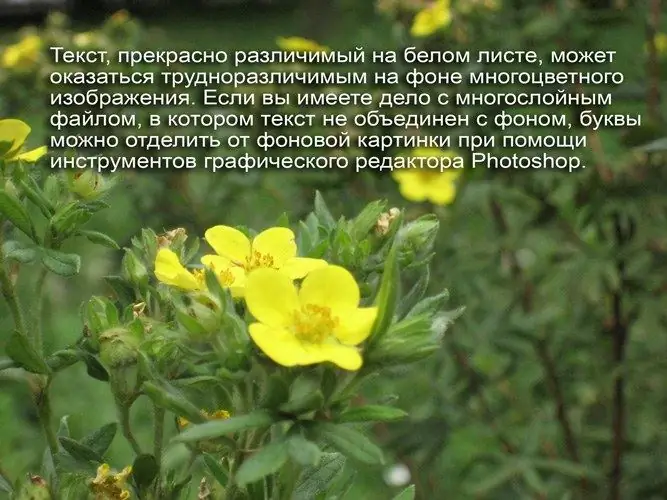
Highly legible text on white paper may be difficult to read against a multi-colored image. If you are dealing with a multi-layered file in which the text is not combined with the background, the letters can be separated from the background image using the tools of the graphics editor Photoshop.

Necessary
- - Photoshop program;
- - file with text layer and background.
Instructions
Step 1
The text layer can be separated from the background by changing the font color. To do this, select the Horizontal Type Tool, click on the text so that a blinking cursor appears in the caption, and select all the text. Select a new font color by clicking on the colored rectangle on the right side of the settings panel. If the text is vertical, select the Vertical Type Tool to work with the font.
Step 2
If the text is already rasterized, change its color by opening the settings window with the Hue / Saturation option from the Adjustment group of the Image menu.
Step 3
The color change may not be enough to make the text stand out. In this case, you should use layer styles: add a shadow, stroke or relief to the text layer. To access the settings for these parameters, select the Blending Options item from the context menu by right-clicking on the caption layer.
Step 4
On the Drop Shadow tab, you can adjust the settings for the drop shadow of the text layer. After applying this option, the letters will be visually raised above the background. The Angle parameter controls the angle at which the light falls on the shadow casting layer. The Distance parameter determines the distance from the layer to its shadow. By adjusting the Spread parameter, you can adjust the degree of blur of the shadow, and Size adjusts its size.
Step 5
By adjusting the parameters on the Bevel and Emboss tab, you will get an embossed lettering effect. This selection method is suitable even for texts created in mask mode, that is, they do not differ in color from the background image.
Step 6
On the Stroke tab, you can adjust the text stroke options. The Size parameter is responsible for the size of the stroke. To change the color of the stroke, click on the colored rectangle in the Color field. By selecting one of the Position list items, you can adjust the position of the stroke lines.
Step 7
To separate the inscription from the background image, you can put a semi-transparent one-color background under the text. To do this, select the area of the image where the text is located using the Rectangular Marquee Tool or Polygonal Lasso.
Step 8
Create a new layer using the Layer option from the New group found on the Layer menu. On the created layer, fill the selection with a color different from the main color of the background image using the Paint Bucket Tool. Using the mouse, drag the fill layer under the text layer and increase the transparency of the moved layer by changing the value of the Opacity parameter.


