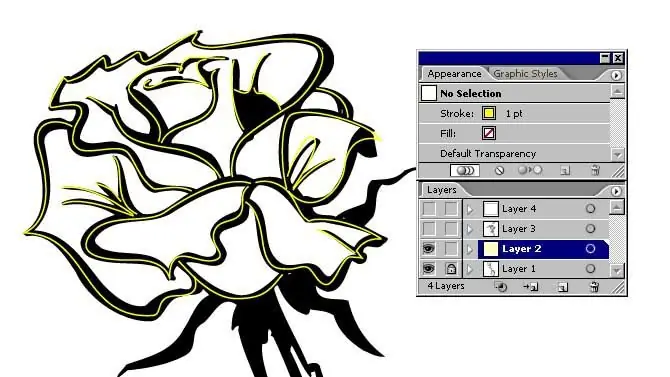
What is an outline in Photoshop? This is a utility object that is used to construct and maintain a precise shape selection. In addition, paths can be used as masks or clipping paths. And each contour consists of anchor points, which are connected to each other by segments.

Instructions
Step 1
The simplest is a straight line. To build it, select the Pen tool. We click on the place from which we will begin to build the contour. We create the first of the nodes in the form of a filled square. This means that this node is active. With the second click, we create a second node and a line connecting them. This way we build as many nodes with contours as we need. We close the path by moving the pointer to the first node. If we need an open path, press Ctrl. Then, without releasing Ctrl, click anywhere on the screen except the outline. If we need to add several nodes to an already constructed open path, simply click on the start or end point of the path and add nodes.
Step 2
A curved contour is drawn with the same tools as a straight one. We build the first node, then, without releasing the mouse button, stretch the pointer a little. The control lines that control the curvature of the segment will extend from the anchor point. We put the second node and repeat the operation, then we put the third node and so on. So we can make a path with smooth curves for each of the segments. Anchor points can be moved by holding Ctrl and moving the anchor point to a new location. We close the contour.
Step 3
Freehand outline drawing. To do this, select another tool called the "Free Pen". With this pen, you can already draw the shape of the contour, and not the position of its anchor points, which are then set automatically. Draw the shape of the contour in the same way as in Paint. Everything is simple here. To prevent contour shapes from being broken, set the anti-aliasing parameter, which can be set by opening the drop-down list in the toolbar and selecting the desired value for the “Tolerance” option. You can continue the interrupted drawing of the contour by clicking on its end or starting point.


