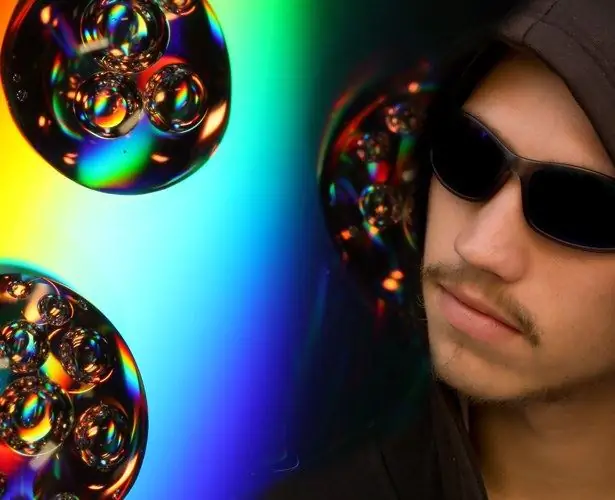
A good photo can be spoiled by background objects that no one paid attention to when shooting. You can improve such a photo by editing its background in Photoshop.

Necessary
- - Photoshop program;
- - Photo.
Instructions
Step 1
Open the image whose background you are going to redo in Photoshop using the Open option of the File menu, pressing Ctrl + O, or by dragging the file icon into the editor window. Add a new layer to the photo by clicking on the Create a new layer button in the layers palette.
Step 2
Choose the main color of the future background. Photoshop lets you edit your image so that it looks natural against any background. However, if the photo was taken in a well-lit place, choosing a bright background will allow you to avoid additional processing. For photos with lots of shadows, a dark background will work.
Step 3
Fill the created layer with the color chosen for the background using the Paint Bucket tool. Use the Reveal All option in the Layer Mask group of the Layer menu to add a mask to the filled layer.
Step 4
Use the Ctrl + J keys to copy the photo to a new layer and separate the foreground object from the old background using the Extract filter, the window of which opens with the Extract option of the Filter menu. The result may be far from perfect, but you will have the opportunity to correct it.
Step 5
Edit the mask of the future background, which is the topmost layer in your document. To do this, use the Load Selection option of the Select menu to load the selection from the layer processed with the Extract filter. Pressing the Shift + Ctrl + I keys, invert the selection. Go to the new background and fill the selected parts of its mask with black. Deselect with Ctrl + D keys. If necessary, correct the edges of the mask with the Brush tool.
Step 6
The created solid color background looks flat. You can add volume to it by creating an imitation of rays of light and adding brush prints of different sizes, scattered in random order.
Step 7
Create a new layer on top of the background to paint the lighting. Use the Polygonal Lasso Tool to select the trapezoidal extruded shape. Its tilt should match the direction of the light in the original shot. Choose a shade for the beam you create that matches the colors in the photo. For a dark background, you can use white; for a lighter image, a cyan, yellowish, or reddish tint can be used.
Step 8
Fill the selection with the selected color and apply the Motion Blur option from the Blur group of the Filter menu to the created shape. Adjust the direction of the blur to match the tilt of the beam. Make several copies of the processed layer and apply the Free Transform option of the Edit menu to them. By resizing the image, you get a narrower beam.
Step 9
Use the Move Tool to move the copies of the layers so that you get a lot of rays of different thickness. Some of the light lines can be shifted behind the figure in the picture. To do this, go to the background and load the selection using this layer's mask as the source. Return to the light simulation and delete the part covering the subject with the Clear option of the Edit menu.
Step 10
Apply brush marks to the lighter area of the background. To do this, create another layer and open the Brushes palette. With the Brush tool turned on, select a sample of the brush that you will use to fill in the background. This can be done in the Brush Tip Shape tab. Adjust the parameters of the scatter of prints in the Shape Dynamics and Scattering tabs, focusing on the change in the picture in the lower area of the palette. If you want to get brush marks that differ in color, adjust the settings on the Color Dynamics tab.
Step 11
Fill the top layer with brush prints. You can duplicate the resulting image and place some of the brush marks in front of the shape in the photo. Decrease the Opacity for the layer with these prints.
Step 12
Save the resulting image to a psd file containing all layers. You might want to change the details of the created background. Use the Save As option on the File menu to save. For a quick view of the edited photo, select the.jpg"


