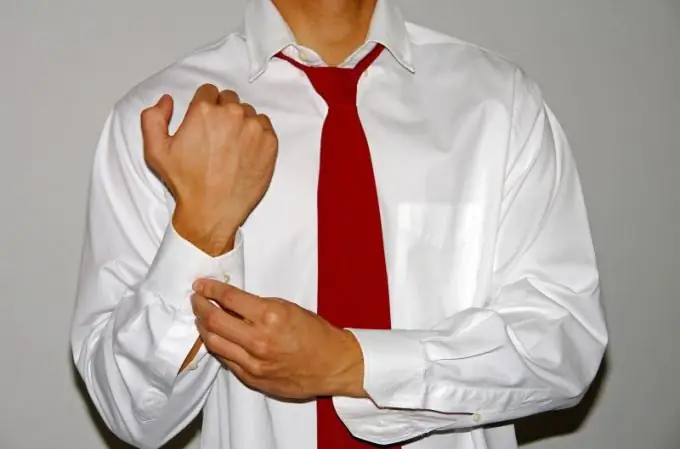
Photoshop allows you to change outfits more often than in real life and without harming your wallet. Replacement of a suit is also sometimes required in photo salons, if, for example, a police officer needs a photo for documents, but he does not have a uniform with him.

Necessary
- - Photoshop program;
- - photo with a person;
- - a photo for retrieving a suit or garment blank in PSD format.
Instructions
Step 1
Open the photo with the desired costume in Photoshop. Use the Lasso or Polygonal lasso tool to select the clothes. If there are several wardrobe items, select each separately and copy to a new layer: "Layer" (Layer) - "New" (New) - "Copy to a new layer" (Layer via Copy).
Step 2
Save these multiple layers as a PSD file. This is the native format of the Photoshop editor. The images stored in it can be used over and over again for editing. You can also find ready-made clothing blanks online.
Step 3
In the same window, open a photo with the person you are going to dress. It is desirable that the object and the suit are turned in the same direction, then it will be easier to combine them. The size and quality of the images should not be very different either, otherwise the high-resolution photo will have to be reduced.
Step 4
If you are satisfied with the background in the photo with the object, use the Move Tool to copy the layers with the clothes into the document with this photo. The layers with wardrobe items should be above the layer with the person being dressed.
Step 5
Adjust the size and position of the suit in relation to the person. To do this, having selected the layer with the garment, click on the menu items "Editing" (Edit) - "Transform" (Transform) - "Free transformation" (Free transform) or "Warp". Use the sliders in different parts of the mesh that appears to change the shape of the suit as you see fit.
Step 6
Perhaps you like a photo with clothes, background and body and want to insert someone's face into it. Select this face and copy it to a new layer. Transfer this layer to the document with that image. Use the transformation tools to resize the face in proportion to the body parameters. Use color grading tools to harmonize skin tones, brightness, and more. Merge the layers and save the image.


