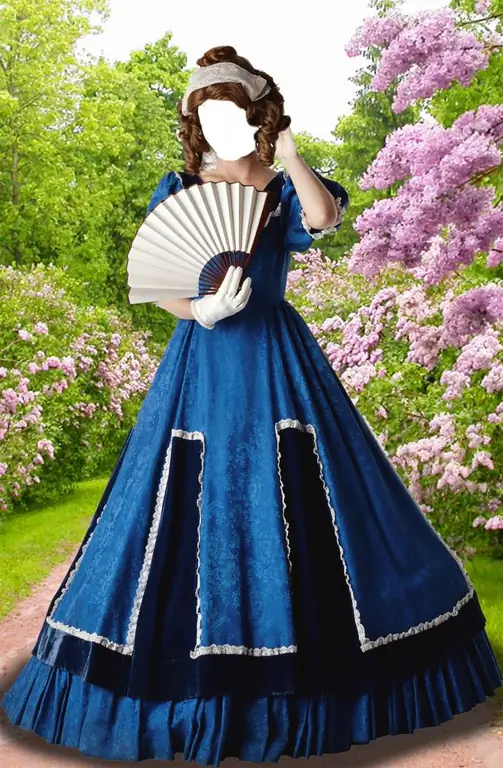
On the Internet you can find many interesting and beautiful templates for Photoshop, with which you can combine any of your photos. Templates allow you to see yourself in any role and try on any costume, and templates are a common and original way of decorating children's photos. This image will be a great decoration for a greeting card and home photo book. It's easy to combine a ready-made suit template with your photo.

Instructions
Step 1
To do this, open the desired template in PSD format in Photoshop. Also open a photo in which your face or your child's face is in the correct angle to that of the suit in the template.
Step 2
For convenience, increase the scale of the photo and remove everything unnecessary from it, leaving only the head - for this use any selection tool (Lasso Tool, Pen Tool or Eraser Tool). Try to repeat all the contours of the head and neck, using a fine and clear brush to process them.
Step 3
Clean up the photo, leaving only the head and neck, and then select the resulting area and copy it (Ctrl + C). To select, use the Magic Wand option - click on the background area around the portrait and then delete the selected background. Invert the selection and copy the portrait. Paste the copied portrait into the template file so that the portrait will appear on a new layer (Ctrl + V).
Step 4
Using the Move Tool and the Transform option, change the position and size of the portrait so that it is proportional to the suit template and fits the suit and headdress in size. Apply the changes and then reduce the opacity of the portrait layer to 60%.
Step 5
Then zoom in and use the fine eraser to gently erase the edges of the photo to make the finished image look better. Bring the layer opacity back to 100%, then color correct and smudge the edges of the portrait to blur the crisp edges a little. Merge the layers. The template with a photo is ready.


