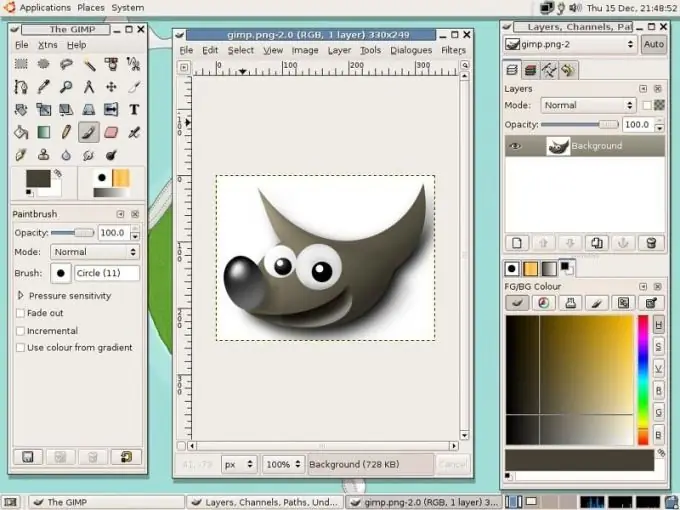
Many users who decided to try changing the Windows OS to Linux were always frightened by the question of replacing the already familiar software with its counterparts. For example, Linux has an analogue of Adobe Photoshop - the Gimp utility. The interface of this graphical editor is built differently, although most of the functions have remained unchanged.

Necessary
Gimp software
Instructions
Step 1
First of all, you need to install Gimp. To do this, click the "System" menu, select the "Administration" section and launch the "Synaptic Package Manager" or "Application Center". Install Gimp by entering the command of the same name in the search bar.
Step 2
The application is launched from the Applications menu and the Graphics section. After the main application window appears on the screen, press the key combination Ctrl + O (open file) and select two images to load. A much larger number of photographs can be used to create a collage. This example will be considered in just two photographs.
Step 3
For training, you can use any pictures from the Internet, for example, a flower and a portrait of a child or any cartoon character. The purpose of this collage is to place a child in a flower bud, illustrating the saying "Children are flowers of life."
Step 4
Use the Smart Scissors tool to highlight the outline of a child or cartoon character in your photo. If you are using this editor for the first time, and previously used Adobe Photoshop, you should use the scissors as the Magnetic Lasso tool.
Step 5
Now the selection needs to be copied. To do this, click the "Edit" menu and select "Copy". Go to the second image, click the Edit menu and choose Paste As Layer. To remove the selection from the inserted fragment, click the "Selection" menu and select the "Unselect" item.
Step 6
Pay attention to the layer manager - you will see that a new layer has appeared. Disable the background layer below. Use the Blur Tool to brush over the edges of the layer where the selection was.
Step 7
Click on the layer visibility icon again to show all layers. Drag the baby onto the flower bud. If the child is larger than the flower, you need to reduce the layer with the child's photo. To do this, click the Layers menu and select Layer Size. Make the layer smaller and apply the changes.
Step 8
Use the Move tool to move the baby to the flower bud. Place the baby in the center of the bud. Now it remains to save the resulting collage. Press the keyboard shortcut Ctrl + S, select the jpeg format, enter the file name and click the "Save" button.


