One of the most frequent actions performed when working in the popular graphics editor Adobe Photoshop is to create selection areas of various shapes. This allows you to ensure that tools and filters affect only the desired parts of the image. Typically, such fragments are various objects and elements of the composition. Therefore, for effective work, it is very important to be able to quickly select an object in Photoshop.

Necessary
installed editor Adobe Photoshop
Instructions
Step 1
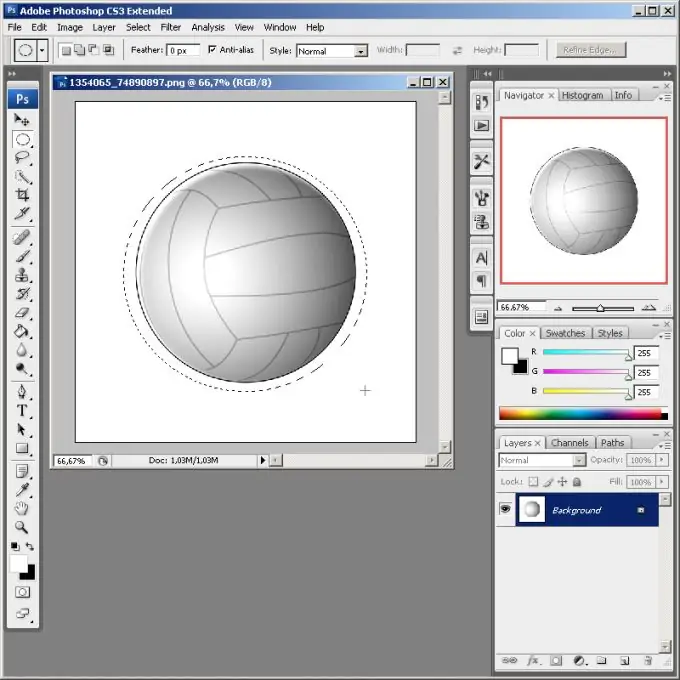
Use the Marquee tools to quickly select regular elliptical or rectangular objects. Activate the Elliptical Marquee Tool or the Rectangular Marquee Tool. Move the mouse cursor to one of the corners of the image fragment that you want to select. Press the left button. Move the cursor to create a selection area of the desired size. Release the mouse button.
Step 2
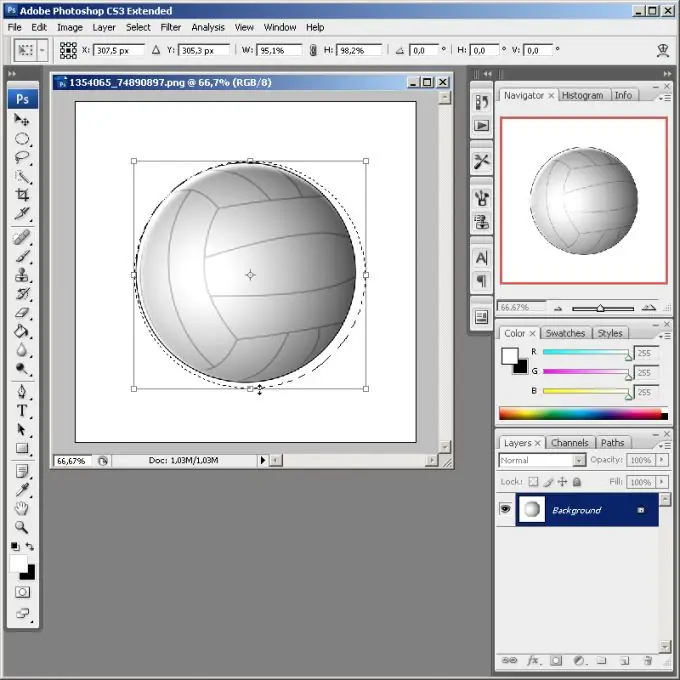
Adjust the created selection area if necessary. From the menu, choose Select and Transform Selection. Move the mouse around the edges of the displayed frame to achieve the desired result. Double click inside the selection area to commit the changes.
Step 3
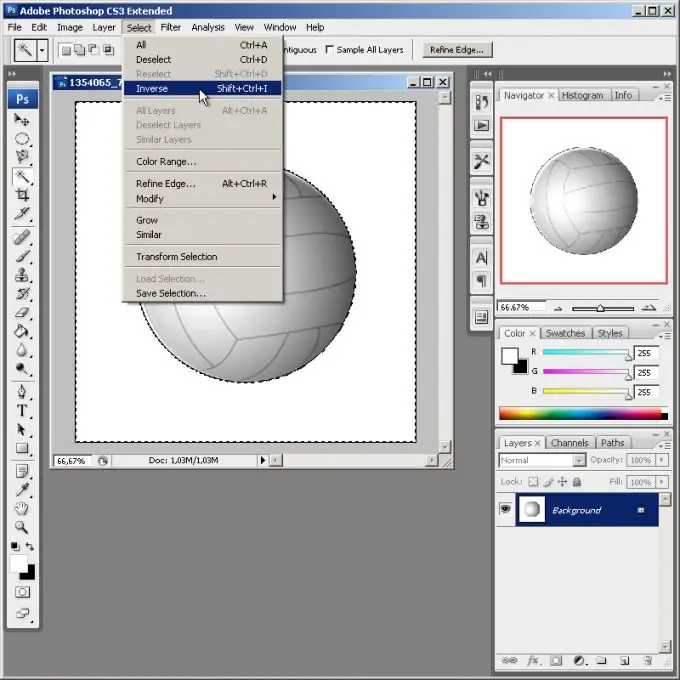
To quickly select an object filled with one color or a group of similar colors, as well as a single object located on a uniform background, use the Magic Wand Tool. Activate it using the toolbar button. Set the appropriate value for the Tolerance parameter in the panel at the top. Click with the mouse inside an object or a uniform background. If you were processing the background, invert the selection by pressing Ctrl + Shift + I or choosing the Select and Inverse items from the menu.
Step 4
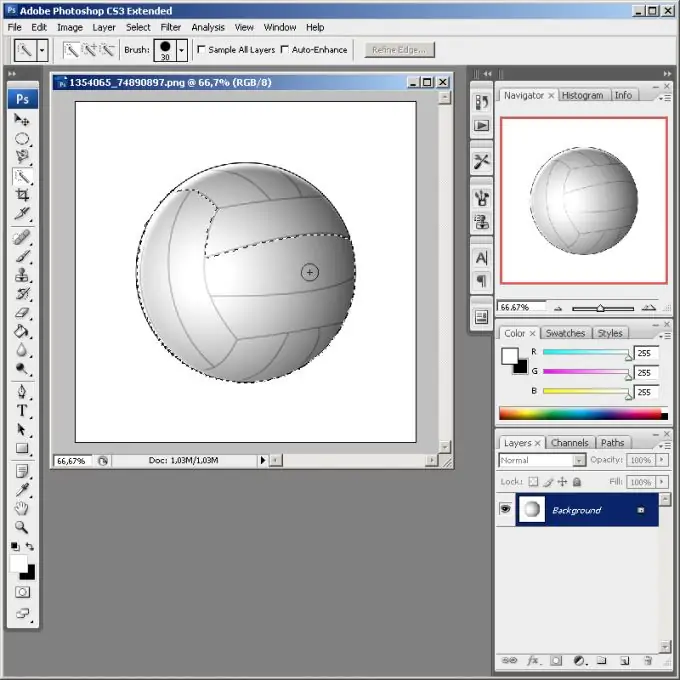
Apply the Quick Selection Tool to use the smart selection mechanism. After activating the tool, select a suitable brush by clicking on the Brush control located in the top panel. With the left mouse button pressed, drag the cursor over different areas of the selected image fragment. Make the selection spread over the entire object.
Step 5
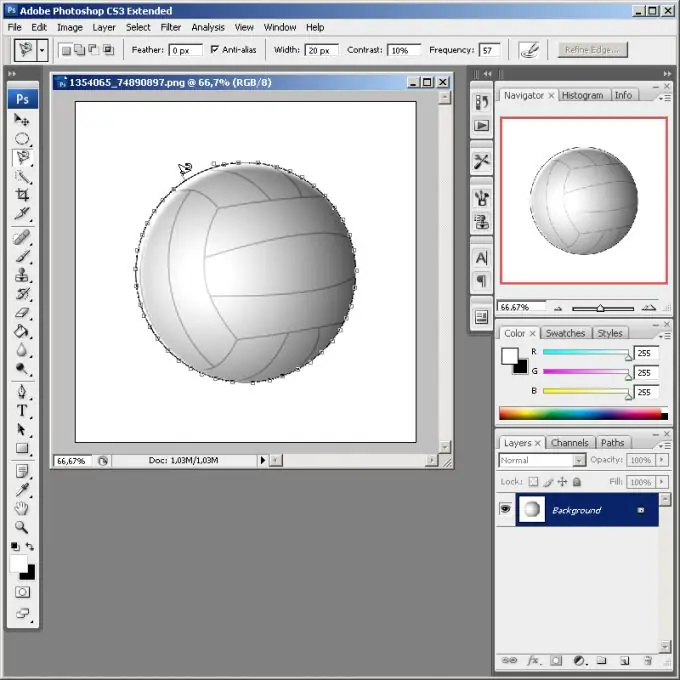
Use the tools in the Lasso group to quickly, but not always accurately, select complex objects. Apply the Lasso Tool if you need to create a rough selection. Just drag the desired area with the mouse cursor along the path while holding down the left key. With the help of the Polygonal Lasso Tool, select the fragments, limited by straight lines. The Magnetic Lasso Tool is the smartest in this group. It automatically recognizes the boundaries of dissimilar parts of the image. It can be used, for example, to highlight the outline of a face in a photograph.
Step 6
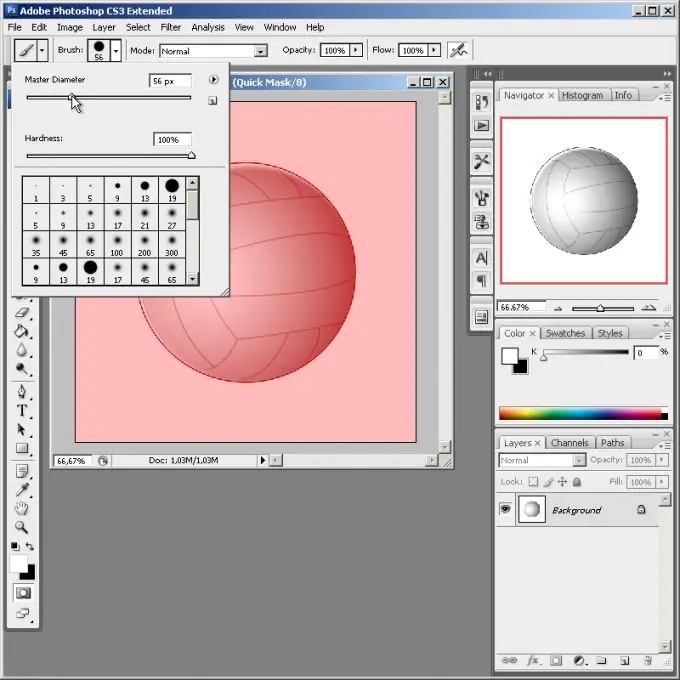
Start using a quick mask to select objects or groups of objects with complex shapes. Activate the mask by pressing the Q key or the Edit in Quick Mask Mode button on the toolbar. Set the foreground color to black. Select the Paint Bucket Tool. Click anywhere on the image. Activate the Brush tool. Adjust the parameters of its operation using the controls on the top panel. Set the foreground color to white.
Step 7
Select objects. Remove the mask from them by painting over with a brush. To correct inaccurate areas, temporarily switch to black. Disable the mask in the same way that it was enabled.


