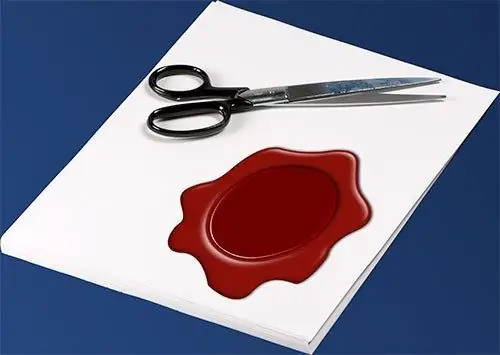
The sequence of actions performed when separating a fragment from the background in Adobe Photoshop strongly depends on its type. So, if you need to cut a print, you should not use the standard selection tools. It should be borne in mind that the print image, although highly fragmented, has approximately the same color.

Necessary
- - Adobe Photoshop;
- - an image containing a seal.
Instructions
Step 1
Load a graphic file containing the print image into Adobe Photoshop. From the File menu, select the "Open …" or "Open As …" item, or use the corresponding keyboard shortcuts Ctrl + O or Ctrl + Alt + Shift + O. In the dialog that appears, navigate to the required directory, select the file and click the "Open" button.
Step 2
For the convenience of further work, transfer the fragment of the image containing the print to a new document. Activate the Rectangular Marquee Tool. Use it to create a rectangular selection around the print. Adjust the size of the selection by choosing Select and Transform Selection from the main menu. Copy the fragment to the clipboard by pressing Ctrl + C or choosing Copy from the Edit menu. Press Ctrl + N or choose "New…" from the File menu. In the Preset list of the New dialog, select the Clipboard value. Click OK. Press Ctrl + V or choose Paste from the Edit menu.
Step 3
Select the main parts of the print image by color. Set a convenient viewing scale using the Zoom tool. In the main menu, select the items Select and "Color Range…". In the Select list of the Color Range dialog that appears, select Sampled Colors. Set the value of the Fuziness parameter to 1. Activate the Image option. In the Selection Preview list, select Quick Mask. Click the Add to Sample button. Click on several points of the print image that have the most different colors. Increase the Fuziness value, adjusting it so that the selection encompasses the print as much as possible, but without affecting too wide adjacent areas. Click OK.
Step 4
Adjust the selection area. Enter quick mask mode. Press the Q key or the Edit in Quick Mask Mode button on the toolbar. Choose a brush with parameters convenient for work (type, diameter and hardness). Set the foreground color to black and remove excess selection. Set the foreground color to white and add selections where you want. Disable quick mask mode in the same way that it was activated.
Step 5
Cut out the stamp. If you need to place it on the clipboard, just press Ctrl + C. If you want to save a "clean" print image for future use, invert the selection by pressing Ctrl + Shift + I, remove the background by pressing Del and invert the selection again. Select Image and Crop from the menu. Then press Ctrl + Shift + S or select "Save As …" from the File menu.


