When working with spreadsheets created in Microsoft Office Excel, it is not always necessary to print the entire table, sometimes just a few lines from it or even a certain group of cells. In Microsoft Excel, this feature is implemented and it is very easy to use it.

Instructions
Step 1
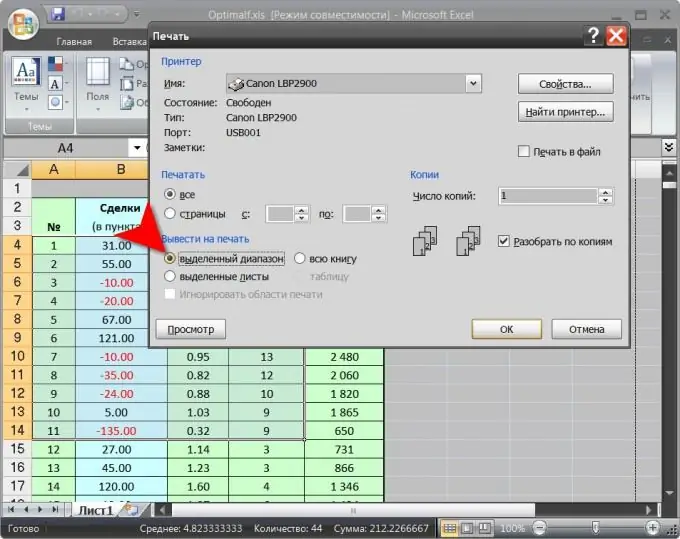
Start the spreadsheet editor and load the document intended for partial printing into it. Then find the area you want in the table and select it.
Step 2
Open the dialog for sending the document to print. This can be done through the program menu, opened by clicking on the round button in the upper left corner of the window. Open the "Print" section in it and select "Print", after which the required dialog will open. All this can be done without the participation of the mouse - press the left alt key, then the key with the letter "F", and then the "H" key. And you can do without the menu altogether - just press the combination of "hot keys" ctrl + p.
Step 3
Check the box labeled "Selected Range" placed in the section titled "Print". To make sure that the area you specified will be printed, and also to see how it will look on the printed sheet, you can also click the "Preview" button here.
Step 4
Click on the "OK" button to send the page with the selected area to the print queue of the printer specified in this dialog.
Step 5
If, after working with tables, you need to print the same group of cells again, you can save the selection area to simplify this operation. In addition, the specified printable area will be saved with the Excel workbook and ready to reuse the next time you open it. To set the area, after you select the desired group of cells, go to the "Page Layout" tab. In the "Page Setup" group of commands, open the "Print area" drop-down list and select the "Set" item. After that, when you call the send to print dialog, nothing will need to be selected in the table, and nothing will need to be changed in the dialog - only the area you specified will be printed. To cancel this order of printing, open the same drop-down list on the "Print area" button and select "Remove".


