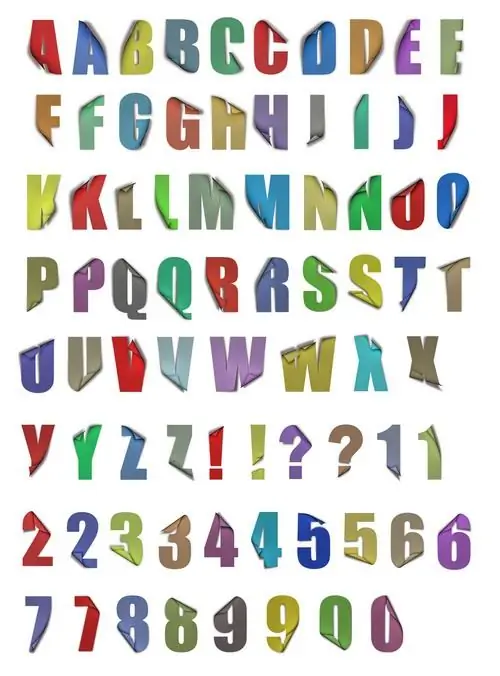
Now everyone knows what a font is and how it is used, even a primary school student has information about fonts. After all, in computer science lessons, modern children study even such a topic. But installing fonts is much more difficult.

Necessary
Control panel, new fonts
Instructions
Step 1
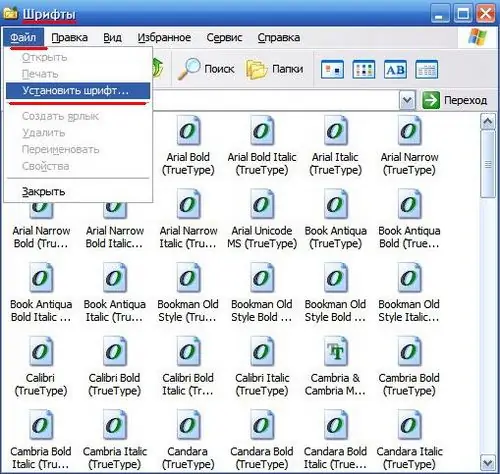
To install fonts, you must close all programs associated with editing text. Installing a new font is done through the control panel. Time spent installing a font is minimized by quickly identifying the directory (folder) with your fonts. Open the "Start" menu, select "Control Panel", in a new window open the shortcut "Fonts". Then click the "File" - "Install Font" menu.

Step 2
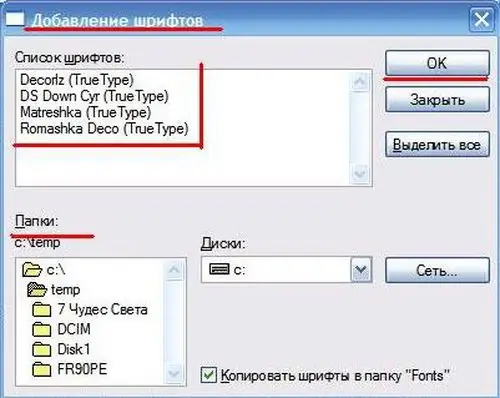
In the new font search dialog box that opens, select the directory where the new fonts are located. Highlight the fonts you want to add and click OK. After a while (depending on the number of fonts), all fonts will be installed.

Step 3
Start any text editor and evaluate your new fonts: type a little text (maybe a few words) and apply the new font.


