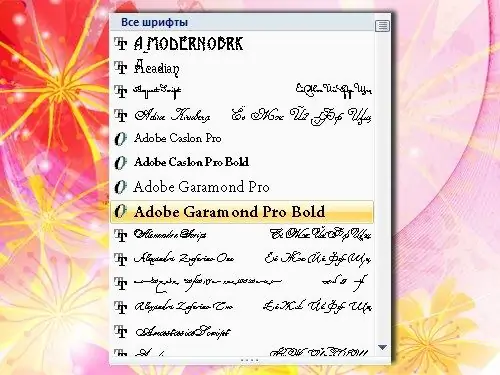
Supplementary fonts are used to thematic text. In this case, the same font can be available in different applications, for example, in Microsoft Office Word and in Adobe Photoshop. Despite the fact that the programs are different, in search of this or that font they turn to the same resources. There are several steps you need to take to install additional fonts on your computer.

Instructions
Step 1
Find the font or font collection you want. If you are searching for fonts on the Internet, download the fonts you like to your computer. Make sure they are not archived. If necessary, unpack the archive containing the fonts into a folder that you can find on your computer yourself.
Step 2
Open the folder where you just unpacked the fonts. Make sure the files in it have the extension.ttf or.otf. Select the files using the mouse or the Ctrl and A keys (the "Select All" command) and copy them to the clipboard. To do this, right-click on the icon of any of the selected fonts (but not on the empty space between the icons), in the drop-down menu select the "Copy" command.
Step 3
Open the Fonts folder. To do this, use the "Start" button to expand the menu and call the "Control Panel". In the Appearance and Themes category on the right side of the window, under the See also "select the" Fonts "icon by clicking on it with the left mouse button. If the "Control Panel" has a classic look, the folder you are looking for is available immediately.
Step 4
Paste the fonts you just copied from the clipboard into the opened folder. To do this, right-click anywhere in the Fonts folder and select the Paste command from the drop-down menu or use the top menu bar (Edit, Paste command).
Step 5
In the "Fonts" folder, you can see how a particular font looks like. Left-clicking on the file will open a sample text in the appropriate font. Close the "Fonts" folder in the usual way and start the editor in which you are going to style the text. In the category with font styles, you will see the fonts you just installed.


