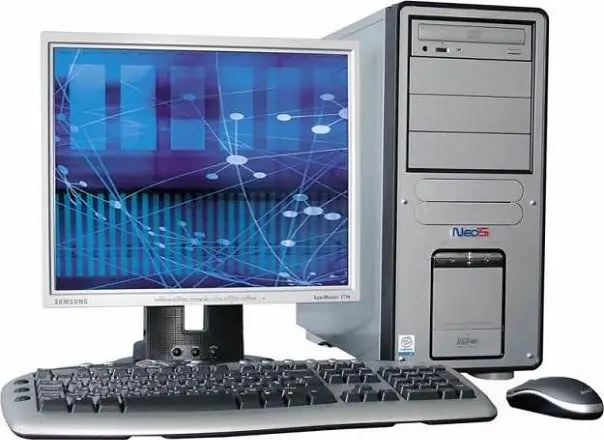
So, you have purchased a computer. They brought home, took out a monitor and a system unit from the package, maybe a keyboard and a mouse, and then what? You need to properly assemble and start a new computer.

Instructions
Step 1
Check the contents. The most important and necessary parts for switching on are a monitor, a system unit, it is also called a "processor", a keyboard, a mouse, a surge protector and a speaker system or headphones. This is the standard minimum set. Cameras, modems, microphones, printers and other additional devices are not so important at startup and not all have them, so their connection is not considered.
Step 2
Connect the monitor and the system unit with a signal cable. Usually the ends of this cable are blue or white, with a lot of pins. Find a socket that matches the shape and color on the back wall of the system unit, insert it all the way. Connect the other end of the cable to the monitor.
Step 3
Connect your keyboard and mouse. The connectors where these devices are connected are located on the back of the system unit, in the upper half. If the jacks are round, then you need to connect them by color, the purple keyboard contact into the purple connector, and the green mouse connector into the green hole marked with a suitable shape. If the cable from the keyboard or mouse ends with a flat rectangular USB connector, plug it into any rectangular socket on the back of the system unit. Don't be afraid to mix up, all USB connectors are equal and work the same.
Step 4
Connect speakers or headphones to the green hole of the system unit. It is located at the back, almost in the center of the connection panel. If more than one cable leaves your speakers - connect by color, that is, each cable into a socket of its own color. If the speakers are built into the monitor, then a cable will also come from it.
Step 5
Plug the surge protector into an electrical outlet. The power button on it should be in the off position and not illuminated. Plug the power cord into the filter and the other end of the cable into the monitor. Do the same with the cable from the system unit. The connectors and jacks are the same, so you don't have to worry about confusing them.
Step 6
Press the ON button on the front of the monitor. The power indicator should light up. If it doesn't, look for the screen power switch on the back, near the cables.
Step 7
Turn on the power switch on the back of the system unit. Press the power button on the speakers. Click the power filter button - the ready-to-work light will light up on it.
Step 8
Press the power button, usually the largest one on the front of the system unit. The computer is turned on and starts to boot.


