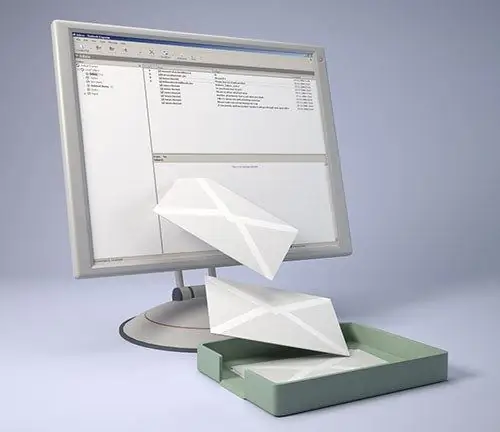
The email client is an email program. Mail programs allow you to write, receive and send e-mails, select a recipient from the address book, and organize automatic mailing of messages. For the mail client to work correctly, the program must be configured in a special way. The setup steps will differ slightly depending on which program is installed on your computer.

Necessary
- - a computer connected to the Internet;
- - the mail program installed on your computer;
Instructions
Step 1
To configure Microsoft Outlook Express, in the "Tools" menu at the top of the page, click "Accounts …". Select Add → Mail. Enter the name that will be displayed when sending your messages. Then enter your email address in the format MailboxName @ ServerName. Click Next.
Step 2
In the window that opens, specify the server of incoming messages (for example, pop.mail.ru), the server for outgoing messages (for example, smpt.mail.ru), click "Next". Enter your mailbox name and password. Select the "remember password" checkbox if you do not want the program to ask for a password for every mail download. Click "Next" and "Finish" to save the entered parameters.
Step 3
From the list of accounts that opens, select the one you just created and click "Properties", in the "Servers" tab, check the box "User authentication" → "Settings". Select the option "As for incoming mail server" and click "OK". If you want to save letters downloaded by the mail client on the server, in the "Additional" tab, check the "Leave copies of messages on the server" → "Apply" → "OK" option.
Step 4
In Windows Live Mail, select Add Account. Enter your e-mail address, password from the box, in the "Display name" field, enter your name the way you want your recipients to see it. Click Next. In the newly created account, right-click the "Properties" item and in the "Servers" tab select "User authentication" → "Options". Select "As for incoming mail server" → "OK".
Step 5
To set up Mozilla Thunderbird click File → New → Mail Account…. Enter the data - your name to be displayed for addressees, your e-mail address and password from it. Then click "Continue". Right-click on the newly created account and select "Options" → "Outgoing mail server" → "Change" from the drop-down menu. Check the box "Use username and password" → "OK".


