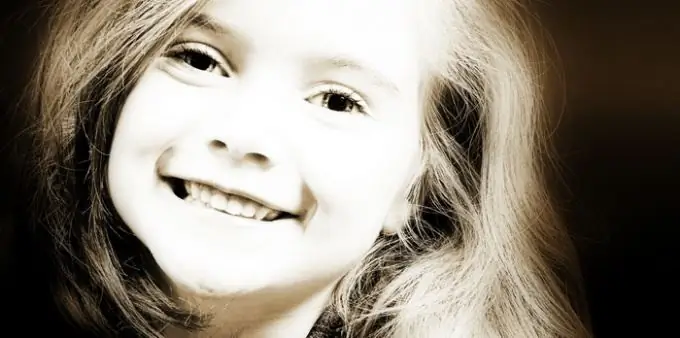
Any person has their own personal photos: birthdays, walks with a loved one, meetings of classmates. Most of the photos are probably already boring, which is why the person loves new photos so much. A new photo can be taken not only at a meeting with friends or acquaintances, a new photo can be taken at home. Give your photos a touch of antiquity and the perception of photography will be completely new.

Necessary
Adobe Photoshop software
Instructions
Step 1
To give it antiquity, you need a certain photo. Of course, a photo of your foreign car or a new purchase is unlikely to work, choose photos with old objects or objects that do not have a characteristic temporary shade. Photos from walks in nature can be great. Do not use photographs in which the effect of a photo flash is clearly visible, not everyone had such technologies 100 years ago.
Step 2
Open Photoshop, upload an image. To simulate the sepia effect, click the Layer menu, then Adjustment Layer, then Hue / Saturation. In the window that opens, check the Colorize item, set the Hue value to 40, and the Saturation value to 25.
Step 3
To merge two layers, use the keyboard shortcut Shift + alt="Image" + Ctrl + E or click the Layers menu, then choose Merge Visible.
Step 4
Click the Filter menu, then Blur, then Gaussian Blur. In the window that opens, select any value, experiment, remembering to click the Preview button. Click the Layers menu, then Blend Mode, choose Overlay.
Step 5
Create a new layer (Shift + Ctrl + N). Fill the new layer with black (Fill or Fill). Press Shift + F5, then select Black. Set the blending mode to Normal and the Opacity to 100 percent.
Step 6
Draw an ellipse. Stretch it from the top right corner to the very bottom. Create a layer mask: hold down the Alt button, then click the Add mask button on the layers panel. To soften the transition, click the Filters menu, then Blur, then Gaussian Blur. Select a value in the range of 20-200 units.
Step 7
Add "noise" to your photo. Create a new layer (Shift + Ctrl + N) then press Shift + F5. Click the Filter menu, select Noise, then Add Noise. The best value would be 150% - 160%.
Step 8
In the Layers panel, select Blend Mode, then Soft Light. Optimal will be the Opacity value set at 30% -40%.
Step 9
Create a new layer and fill it with black (Shift + F5). Click the Filters menu, select Texture, then Grain. Set the value from 70% to 80%.
Step 10
Restore the visibility of the photo by pressing Blend Mode in the layers panel, select Screen. To decrease the contrast, click the Levels menu, then New Adjustment Layer, choose Output Levels (30 and 235).
Step 11
In the Layers panel, find the second layer, select Hue / Saturation, choose an Opacity value, try setting it between 70% and 80%. The photo is ready.


