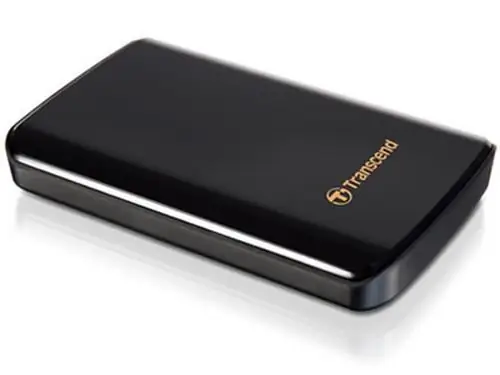
An additional hard drive is a very useful thing. Now a huge number of interesting files are sold and available on the Internet - films, training courses, music, etc. If you save all this in a computer, then a standard hard disk, no matter how capacious it is, will not be enough. Therefore, it makes sense to use an external hard drive. For laptops, there is no alternative to such drives at all (at least for a beginner), so below we will consider connecting portable hard drives.

Necessary
- - Computer (laptop) running Windows operating system;
- - external hard drive of 2.5 "form factor;
- - IDE / ATAPI-USB converter.
Instructions
Step 1
If the external hard drive has a USB interface, then there are usually no difficulties with connection: the complexity of connecting such a device is not higher than the complexity of connecting a regular flash drive. The situation when you need to connect an external IDE device is less trivial, especially if you need to connect as quickly as possible.
Step 2
For this purpose, Data Storage company produces a special device - IDE / ATAPI-USB converter. It allows you to easily solve the problem with the connection of such devices.
Step 3
To connect a 2.5 hard drive to a computer, simply connect the converter to the hard drive and then to the USB port of the system unit or laptop. For orientation when connecting cables, use the stylized connection diagram on the front of the converter.
Step 4
After you plug the hard drive into the USB port, the operating system will immediately detect it as a new hard drive and a new drive will appear in Windows. The LED on the converter will flash to indicate that the data transfer is in progress.
Step 5
If you are using a version of Windows earlier than XP, such as 98 or 2000, you may need a driver disc. It comes in the kit.
Step 6
After installing a hard disk in the system, you can carry out all standard operations with it, namely: formatting, partitioning, copying, deleting and moving files, etc. You can also load the operating system from the external HDD, just keep in mind that in this case The BIOS must support this feature.


