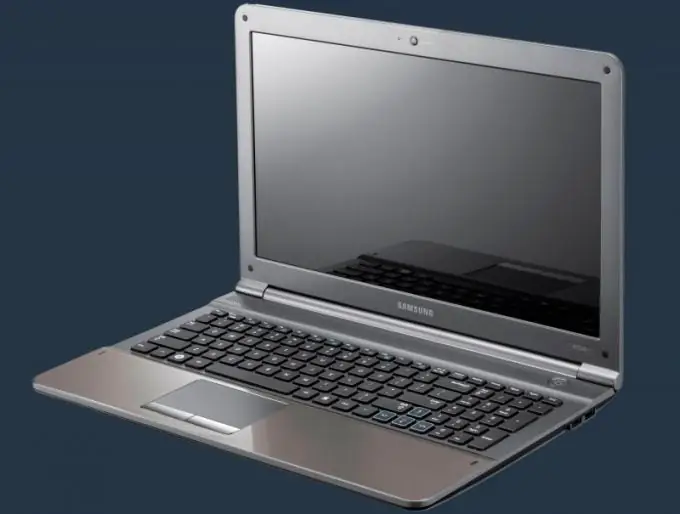
The hard disk is one of the most vulnerable elements of a personal computer. Extreme care must be taken when replacing this device. In addition, it is important to choose the right new hard drive.

Necessary
set of screwdrivers
Instructions
Step 1
Disconnect the power supply cable from the mobile computer. Turn off your laptop. Turn the device over and remove the battery. Study in advance the type of attachment of this battery.
Step 2
Unscrew the necessary screws holding the battery. Modern laptops use special latches. Move all available controls to the Open position. Most often, latches are marked with special signs in the form of an open lock.
Step 3
Remove the battery from the mobile computer case. Locate the bay for storing the disk placement. Remove the screws and open the cover of this compartment.
Step 4
Now remove the screws holding the hard drive cage. Carefully slide the hard drive away from the connectors. Lift the hard drive out of the case. Examine the device interfaces.
Step 5
If you see a lot of individual pins, then this hard drive has an IDE interface. SATA hard drives have two flat connectors. Purchase equipment of the correct format.
Step 6
Remember that mobile computers require 2.5-inch hard drives. After purchasing a new hard drive, secure the device to the carriage using the remaining screws.
Step 7
Install the hard drive into the bay of the mobile computer. Connect the equipment to the connectors by sliding it in the desired direction. Install the control screws to prevent the hard drive from disconnecting while the laptop is in use.
Step 8
Close the compartment cover. Secure it with screws. Turn on the mobile computer and open the BIOS menu. Make sure the new hard drive is identified and available for use. Begin installing the operating system on the new drive. Be sure to format the new hard drive before use.


