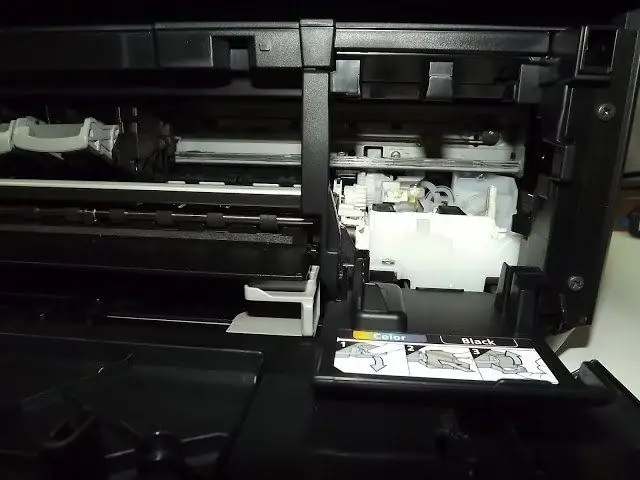
It is convenient to contact the service center to replace the carriage on the printer only if the device is under warranty service. If the warranty has expired, the repair will be quite expensive, so it's better to change the carriage with your own hands.

Necessary
- - standard set of screwdrivers;
- - a set of screwdrivers with a special profile;
- - straight and curved tweezers;
- - new carriage;
- - a blank sheet of paper;
- - pen;
- - camera.
Instructions
Step 1
A defective carriage completely blocks the operation of the printer, so replacement cannot be avoided. The main symptoms of a malfunction are a jammed print head, squeaks when moving, white spots when printing. Replacing the carriage in a printer is easy, but each model has its own nuances.
Step 2
The first thing to do is remove the cartridges and printhead. To do this, set the printer to service mode and wait until the carriage moves to the position for replacing cartridges, then unplug the power cord. The cartridges and the print head itself must be removed according to the instruction manual for the device.
Step 3
The next step is to disconnect all auxiliary parts from the printer: paper input and output trays, continuous ink supply system, and others. If we are talking about an MFP, you will have to remove and disconnect the scanner. To do this, you need to release the hinge latches by unscrewing several screws. The scanner must be moved sideways or rotated 2-3 degrees to remove the "horns" from the seating slots. The procedure for removing the scanner may differ in some models, however, in those devices in which the cover is held automatically, it is necessary to control the state of the spring in the area of one of the hinges: it should not jump out or jam. It may also be necessary to first remove the scanner cover to gain access to the mountings on the device itself.
Step 4
The sequence of operations when disassembling the case is different for all models. The main difficulty is finding the screws and latches that hold the body parts together. If a datasheet or user manual is not at hand, look for screws in recesses, under stickers, plugs, and compartment covers. As for the latches, it is almost impossible to externally determine their position, so you need to separate the housing elements with the utmost care. In most printer models, it is sufficient to remove only the side walls of the case, after which the access to the carriage mechanism will be free.
Step 5
The carriage is usually mounted on a metal rail that is attached to the main frame of the printer. Removing the carriage with the guide is done in one of two ways. It may be necessary to unlock the side latches in the area of the lifting gear on one side and in the belt drive area on the other. If the ends of the guide rail protrude from the gears, you need to remove the retaining rings from them and squeeze the stem to one side. After that, the edge of the guide should be lifted and the carriage pulled off it, having previously dropped the belt and disconnected the loops. The installation of a new carriage is carried out in the reverse order.
Step 6
After assembling the actuators, you need to install the head with cartridges on the disassembled printer and turn on the device. If the new carriage is not recognized by the printer, you need to check the connections of the loops and contact groups. In the event that all connections are made correctly, you will need to install a service program for a specific printer model and eliminate the conflict of components.


