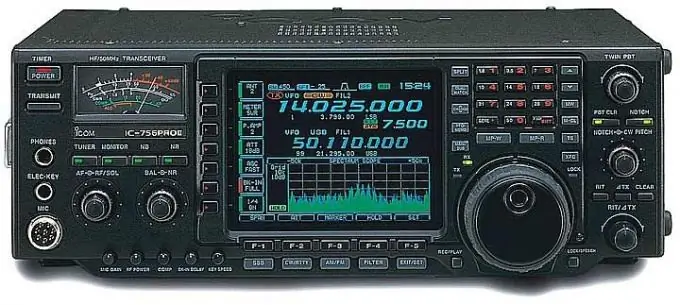
A transceiver is a special device that is designed to receive and transmit a signal between two physically different means of communication systems. It is a transmitter / receiver that connects a host interface to a network such as Ethernet.

Necessary
- - microcircuit MAX3232CPE;
- - a panel for a microcircuit;
- - bread board;
- - ceramic capacitors;
- - USB plug;
- - thin probe;
- - wires;
- - soldering iron;
- - rosin;
- - solder.
Instructions
Step 1
Assemble the transceiver with your own hands on the Max232 microcircuit, for this, use the appropriate circuit. Make sure you have all the necessary items to build the transceiver. Decide on the size of the board and cut a piece of the required size from the breadboard. Next, solder it.
Step 2
Solder the capacitors, you need to heat them no longer than 7 seconds. Solder all the jumpers. Next, prepare the COM port, for this, solder the wires to the fifth and second pins, one wire to the body. Prepare the USB: solder the wires to the first and fourth pins according to the diagram, one wire to the case. Solder everything according to the scheme.
Step 3
Assemble the transceiver using a transistor. Use the appropriate scheme for this. In order to assemble a transceiver according to this scheme, you will need a transistor, resistors, a thin probe, a USB plug, a COM connector, and wires.
Step 4
Solder the resistor to the base of the transistor, then solder the wire to ground to the emitter of the transistor. Solder the resistor to the collector of the transistor, the wire to the second contact of the COM plug. Next, solder the wires to the fifth and second contacts of the COM plug. Connect the red wire from USB to the 1Kohm resistor, the black wire to the fifth pin of the COM plug. Solder the probe to a 10 ohm resistor. Protect the elements from external physical influences and short circuits.
Step 5
Check the made transceiver, for this, download and install the Realterm program, for this go to the link https://realterm.sourceforge.net/index.html#downloads_Download, download the program. Install it on your computer, shut it down. Connect the transceiver to the COM and USB ports of your computer.
Step 6
Turn on your computer, run the application. turn on the computer and start the program. Go to the "Port" tab and select the port to which you connected the transceiver. Then click on the "Open" button, put it in the pressed state. If yellow symbols appear on the screen, then the transceiver is working. If not, try touching the dipstick. Try using a transceiver even if the characters are not constantly moving. If the transceiver does not work the first time, use other elements and check the soldering.


