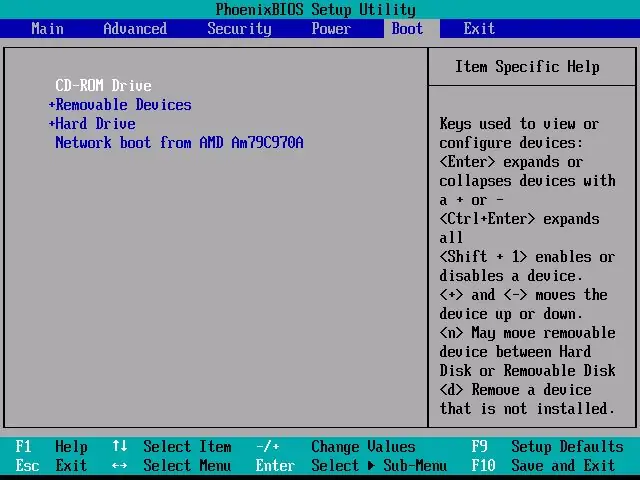
As you know, laptops differ from desktop PCs not only in appearance and arrangement of internal devices. As a rule, special "mobile" solutions with lower power consumption and dimensions are developed for laptops. The changes also affect the BIOS. However, there are not many differences here.

Instructions
Step 1
Anyone who has run the BIOS control panel on any desktop PC is accustomed to hitting the Del button frequently to launch the BIOS. This is due to the fact that the vast majority of motherboards have the same supplier of chips for the basic input-output system (“Basic Input-Output System” - BIOS). With laptops, the situation is somewhat different - the BIOS launch key may differ from manufacturer to manufacturer.
Step 2
Take a close look at the bottom of the screen as you turn on your laptop. A message like “Press F2 to enter setup” appears for a short time either on the left or on the right bottom of the screen. Perhaps, on your laptop, the inscription will be slightly different, but the most important thing is to remember the key indicated in this line. It is this key that plays the role of the “Delete” button when starting a normal computer.
Step 3
Restart the laptop if you did not have time to press the key in time and immediately after the start of the boot press the previously indicated key several times (many, so as not to be mistaken, use the technique of repeated pressing until the BIOS screen appears).
Step 4
You can also find out the required button from the manual for using the motherboard installed on your laptop. In the manual (often referred to as “manuals”) look for the “Bios Features” section. It not only describes step by step the process of invoking the BIOS screen, but also recommendations for setting up your laptop, as well as a description of all the items contained there.
Step 5
Download the motherboard manual from the official website of your laptop manufacturer in case the paper version of the manual was lost for one reason or another.


