Fortunately, the operating system does not require a camera to take a picture - the function of copying the image on the screen is built into the basic set of OS capabilities. Although you can use additional software, which, as a rule, has built-in tools for the subsequent processing of the taken "screenshot".

Instructions
Step 1
Use the Print Screen key on your keyboard to place an image from your computer monitor on the clipboard. On a standard keyboard, this button is located above the Insert key and to the right of the row of function keys - immediately after the F12 key. On compact keyboards, its placement may differ, but most often you should still look in the upper right block of keys. Sometimes it is marked with the abbreviated inscription PrtScn.
Step 2
Press the Print Screen key while holding down the ALT key if you need to take a screenshot not of the entire screen, but only of the window of the active application, for example, a browser.
Step 3
Use a graphics editor to save the clipboard image. For example, if you have Adobe Photoshop installed, launch it and press CTRL + N to create a new document. Photoshop will itself determine the size of the picture in the clipboard, so you don't need to change anything in the dialog for creating a new document - just click the "OK" button.
Step 4
Press CTRL + V to paste the copied image into a new document created with a graphical editor. If necessary, you can edit it here as needed. Then press SHIFT + CTRL + alt="Image" + S to open the optimization dialog and save the screenshot. Select the format of the saved image, set the optimal quality settings and click on the "Save" button. In the save dialog, specify the file name and storage location and click "Save" again.
Step 5
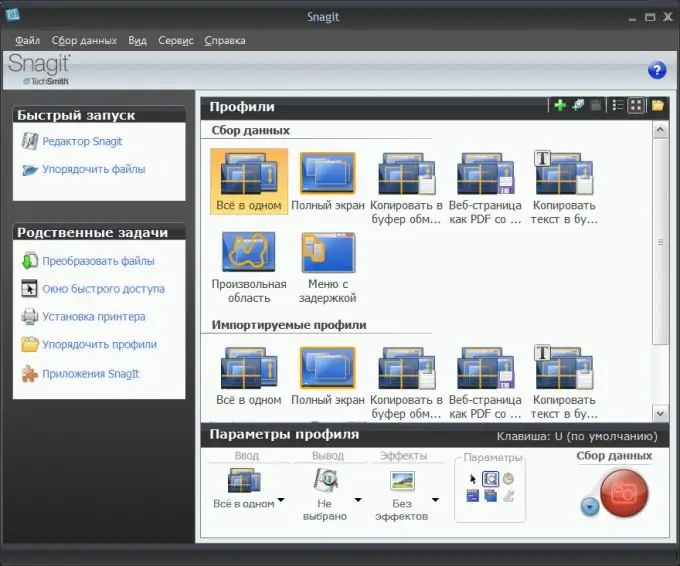
Use a specialized program if you often have to take screenshots with their subsequent processing. For example, it can be the SnagIt program, which has a lot of very useful functions. In particular, it can create not only static screenshots, but also record video of movements on the screen. In addition, the program has a very advanced editor of the screenshots taken, with a simple control system.


