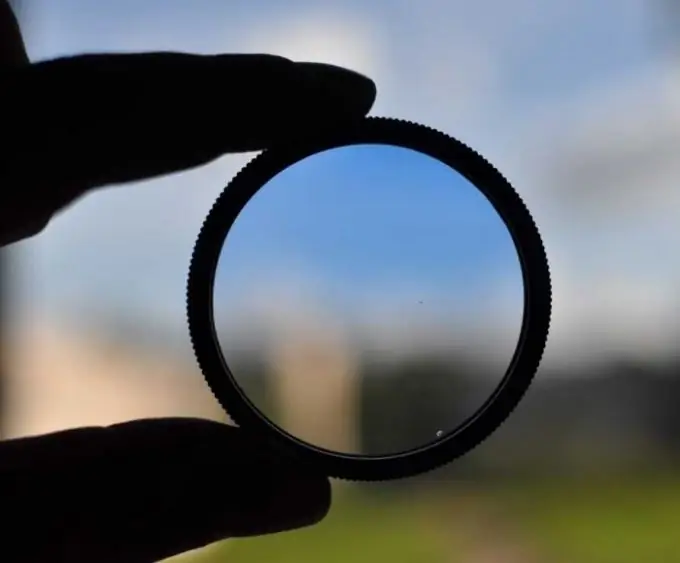
A light filter is an optical device that adds extra effect to a photo. Using it in artistic photography helps to convey the main idea of the photographer more emotionally by adjusting the brightness and contrast, adding various lighting effects.

Necessary
- - camera;
- - photo lens.
Instructions
Step 1
Determine the purpose for which you need the filter. Currently, there are several types of light filters, each of which is designed for a specific purpose.
Step 2
Protective light filter. An optically clear filter that does not affect the color balance and performance of the lens. Serves to protect the front optic of the lens from physical damage or contamination.
Step 3
Ultraviolet light filter. Does not transmit ultraviolet rays. Makes the picture more contrasting. Suitable as an alternative to the protection filter.
Step 4
Polarizing filter. Increases the color saturation of photographs, eliminating unwanted reflections and glare from non-metallic surfaces (eg glass, water). In addition, it increases the contrast of the landscape in the presence of atmospheric haze.
Step 5
Neutral gray filter. Reduces the amount of light entering the camera mirror, allowing slower shutter speeds and maximum aperture for shooting.
Step 6
Softening filter. Gives some blurring effect, softens colors and borders. Designed, as a rule, for portraits.
Step 7
Beam filter. Designed to add four or more rays to light sources in a photo. Effective for night photography with many light sources in the frame.
Step 8
Light filter for macro photography. Shortens the minimum focal length to convert a standard lens to a macro lens.
Step 9
Gradient filter. Used to darken the outer edges of the photo. Allows you to visually highlight the central part of the frame.
Step 10
Choose a narrow rim filter. It will allow the filter to be used with wide-angle lenses without causing vignetting.
Step 11
Give preference to a multi-coated light filter. These filters do not adversely affect color rendering and minimize light reflection. This is especially true for fast lenses. Pay attention to the presence of the PRO mark.
Step 12
Select the required filter diameter. Since the filter is screwed onto the front of the lens, the diameter of the filter and the lens must match exactly.


