When connecting new equipment to your computer, you may encounter certain difficulties in setting it up. The point is that some specific devices may not be detected automatically.

Necessary
Driver Pack Solution
Instructions
Step 1
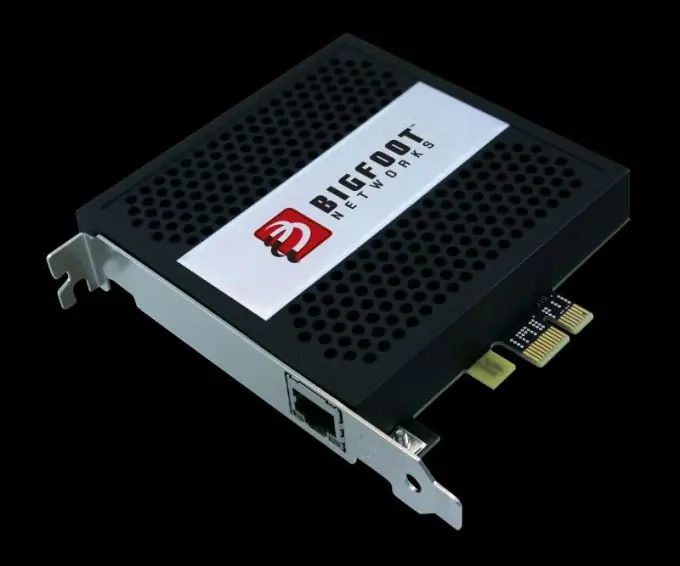
If you need to connect and configure an additional network card, then first select this device. Currently, it is better to use PCI cards with a bandwidth of up to 100 Mbps. Most providers work with just such a channel. Unplug your computer from AC power and open the unit cover. Install the network adapter into the PCI slot of the motherboard.
Step 2
Turn on your computer and wait for it to boot completely. Wait a moment to let the operating system detect the new hardware. If the drivers were not installed automatically, open the Device Manager. Find new equipment and right-click on its name. Select the "Automatically find and install drivers" option. In this case, you must first connect your computer to the Internet.
Step 3
If the installation of the files was successful, then the exclamation mark will disappear in front of the name of the network adapter. Otherwise, it is better to use an additional program. It can also be used if you have replaced an old network card and there is no internet connection available.
Step 4
Install Driver Pack Solution. You can download it using another computer. Run DPS-drv.exe. Wait for the collection of information about the connected equipment to finish. Select the checkboxes related to the network adapter and click the "Refresh" button. Uncheck Install Recommended Programs and click Next.
Step 5
Reboot your computer after installing the required files. Check the network adapter settings. If another network card was previously connected to the used PCI slot, be sure to independently configure the operating parameters of the new card.


