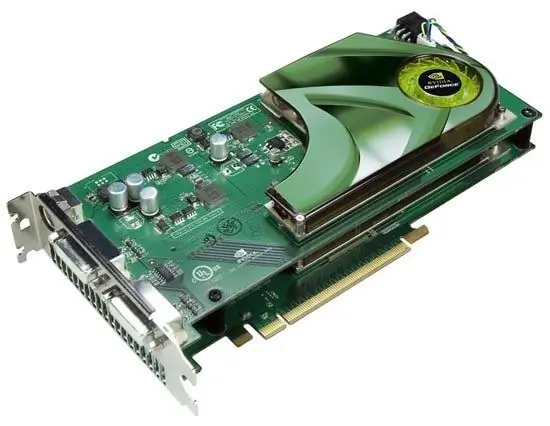
Most motherboards used in modern personal computers have built-in microchips that are designed to form an image on a monitor screen. Therefore, a video card, as it was ten years ago, is not an obligatory component of computer hardware. However, many of the latest software products (primarily games) have such high demands on the image that the built-in graphics adapter cannot cope with them. Therefore, a standalone GPU with a supporting chipset and cooling system is still present in most home and professional computers.

Instructions
Step 1
Shut down the operating system, shut down the computer, and unplug it from the power outlet. The connection of the video card is not carried out through external connectors on the computer panels, but requires certain manipulations with the motherboard and the "internals" of the system unit. Therefore, disconnecting the network cable is an important safety condition for the person who is installing, both the motherboard and the video card.
Step 2
Remove the left side panel of the system unit. Typically, this involves unscrewing the two screws securing it to the rear panel and then sliding it back.
Step 3
Look for the slot on the motherboard that matches your graphics card connector. Most modern GPUs use the PCI-E bus, the connector of which on the motherboard is a strip, approximately 8.5 cm long, divided into two sections and has a plastic latch at one end. There are usually several such slots - choose the most conveniently located one based on the height of your video card model and the expansion cards already installed in the motherboard.
Step 4
Free the opening in the rear wall of the system unit, located opposite the motherboard slot you selected in the previous step. Depending on the model of the system unit, for this you need to either unscrew a few screws on the bar holding the metal cover plate of this opening, or simply break off this cover. In the vacated space, the back panel of the video card will be inserted with the input and output slots attached to it.
Step 5
Insert the video card connector into the slot on the motherboard. This connector is unbalanced, so there is only one way to install it - it will be difficult to make a mistake. Remember to pull back on the plastic tab on the motherboard slot before inserting.
Step 6
Attach the back panel of the video card to the case - depending on the model of the system unit, this is done either with one screw, or by replacing the previously removed bracket.
Step 7
Reinstall the side panel of the case, connect the network cable, turn on the computer and proceed to the next stage of the installation - installing the software for the new video card.


