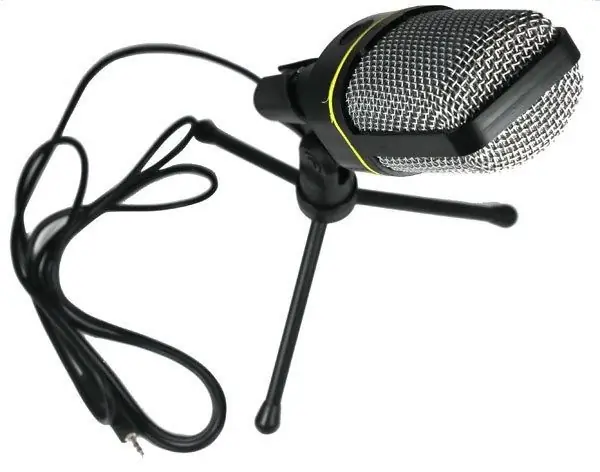
Microphones are connected to the computer using a port located on the sound card. For the device to function properly, you must first install and configure the sound card driver. Using the driver's control panel, you can configure the settings for audio recording via an external device.

Instructions
Step 1
Go to the official website of your sound card manufacturer. Most common modern computers are equipped with Realtek adapters. You can find out the exact model of the board by looking at the list of devices that are installed in your computer. This list is provided upon purchase.
Step 2
You can also use the disc that came with your computer to install the driver. Typically, this disc contains the software required for installation, including drivers for your sound card.
Step 3
After downloading the installer package, follow the instructions on the screen to install it. Restart your computer to apply the changes.
Step 4
Install the microphone plug into the appropriate connector on your sound card, which is most often located on the back of the case. For laptops, an external microphone can be connected to the side of the device. In accordance with OEM standards, the microphone jacks are marked with a pink border around the desired slot.
Step 5
You will see a window for configuring driver parameters. In the program window, select the microphone and then the rear input where it was installed. In the list of options presented, adjust the desired parameters, then save the changes and reconnect the microphone again.
Step 6
Some audio recording parameters can be configured directly in the system itself. Open Start - Control Panel - Hardware and Sound - Sound. Go to the recording tab, where select the microphone connected to the computer using the left mouse button. Click "Properties" and adjust the options presented in the window to your liking. Driver setup is complete.
Step 7
To test the quality of the sound recording, you can use the "Sound Recorder" section of the "Start" menu - "All Programs" - "Accessories". Record your voice, and then listen to the result using the buttons in the utility window. If you think the microphone is not configured correctly, go back to the driver settings and change the settings you want.


